
Ultimate Homemade Mac and Cheese: Cheesy, Creamy, and Delicious
Ultimate homemade mac and cheese is a timeless comfort food that brings warmth and joy to any table.
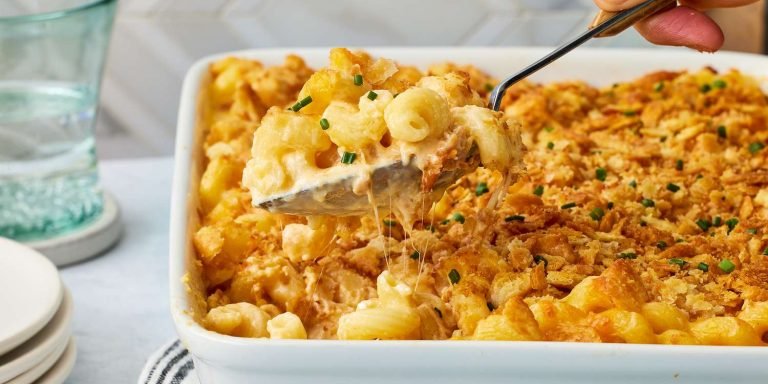
Its rich, creamy texture combined with a melty cheese blend creates a flavor explosion that delights the senses.
I first fell in love with this dish during cozy family gatherings, where it was always the star of the meal.
Whether it’s a casual weeknight dinner or a festive occasion, this mac and cheese will impress everyone with its simplicity and deliciousness.
The History and Cultural Significance
• Homemade Mac And Cheese traces its origins to Italy in the 18th century, where it was originally created as a pasta dish with cheese.
• The dish evolved over decades as it made its way to America, where it was adapted with local ingredients like cheddar cheese and elbow macaroni, eventually becoming the beloved version we know today.
• In American culture, this dish traditionally appears at family gatherings, potlucks, and holiday celebrations, symbolizing comfort and togetherness.
• While many variations exist across different regions, the authentic version maintains a creamy cheese sauce that sets it apart from imitations.
Recipe Overview
Nutritional Information (per serving)
You Might Also Like

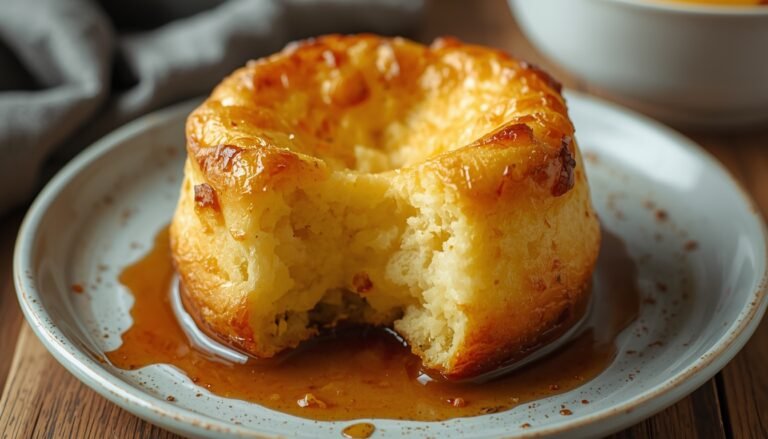
Savory Stuffing Recipe: The Ultimate Side Dish for Thanksgiving – The Log Cabin Blog
Essential Equipment Guide
Large Pot: A large pot is essential for boiling the pasta evenly. Look for a heavy-bottomed pot that retains heat well to prevent sticking. Stainless steel is a great choice for durability and even heating.
Colander: A sturdy colander is crucial for draining pasta without losing any of it. Choose a colander with small holes to ensure that even smaller pasta shapes don’t slip through. A heat-resistant material like stainless steel or silicone is ideal.
Baking Dish: A good-quality baking dish allows for even cooking and browning of the mac and cheese. Opt for a ceramic or glass dish that distributes heat evenly. Avoid using metal dishes, which can lead to uneven cooking.
Key Ingredients Explained
For Pasta:
• 8 oz elbow macaroni, uncooked – Look for high-quality, durum wheat pasta for the best texture. The shape of elbow macaroni holds the cheese sauce well. Whole wheat pasta can be a healthier alternative but will change the dish’s flavor.
• 4 cups sharp cheddar cheese, shredded – Opt for block cheese that you shred yourself for better melting and flavor. Aged cheddar adds a deeper taste, while mild will provide a creamier profile.
For Cheese Sauce:
• 4 tablespoons unsalted butter – Use high-quality butter for a rich flavor. Grass-fed butter can enhance the taste further and provide a creamier texture.
• 4 tablespoons all-purpose flour – This thickens the cheese sauce; use unbleached flour for better flavor. Gluten-free flour can be substituted but may alter the texture slightly.
Preparation Methods
Making a Roux: A roux is the base of a creamy cheese sauce, combining equal parts fat and flour. It’s crucial to cook the roux for a few minutes to eliminate the raw flour taste. Stir continuously to prevent burning, and watch for a light golden color. This technique ensures a smooth sauce without lumps.
Shredding Cheese: Freshly shredding cheese allows for better melting and flavor compared to pre-shredded varieties. Use a box grater or food processor for quick results. Aim for small, uniform shreds to promote even melting. Avoid using pre-shredded cheese that contains anti-caking agents.
Baking for Crispness: Baking mac and cheese with a breadcrumb topping creates a delicious contrast to the creamy interior. Preheat the oven to ensure an even bake. Bake until the top is golden and crispy, usually around 20-25 minutes. Keep an eye on it to prevent burning.
Step 1: Prepare Ingredients
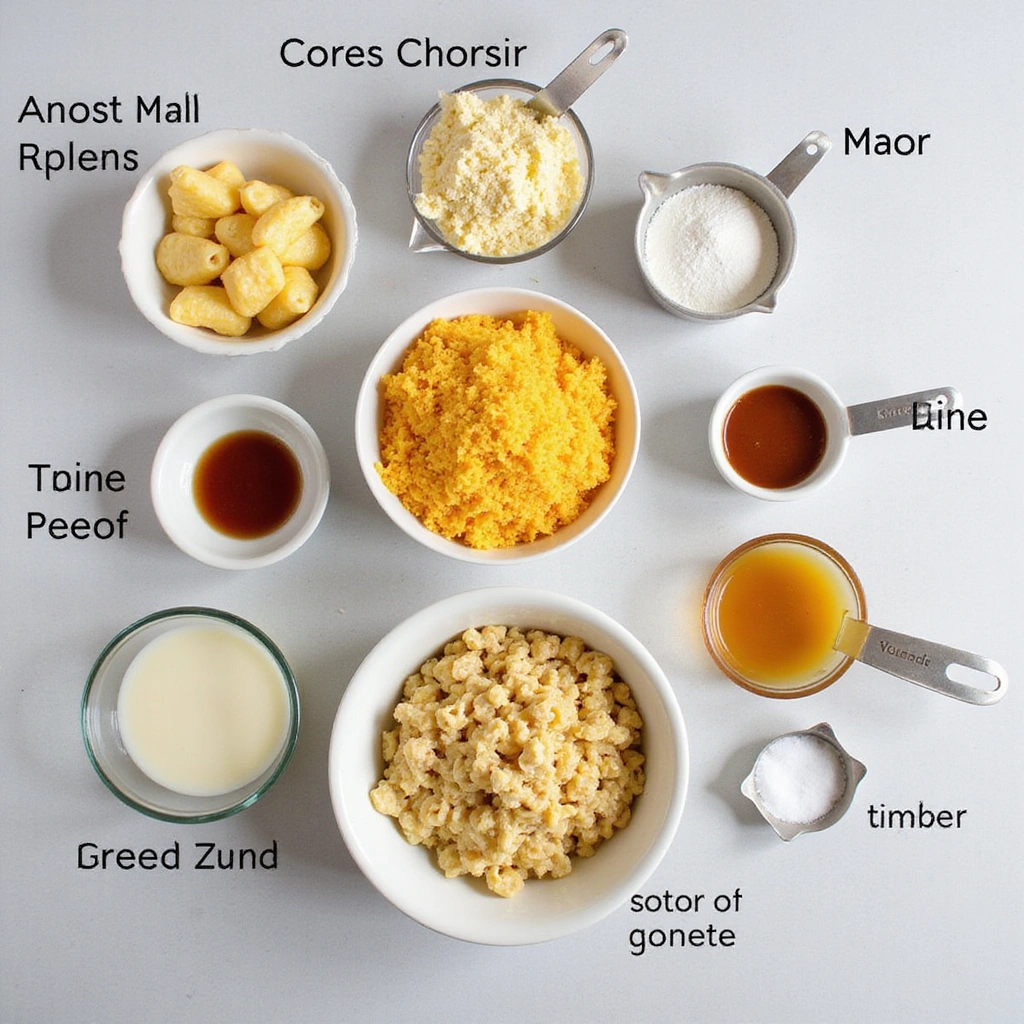
Gather all the ingredients needed for the mac and cheese.
This includes elbow macaroni, sharp cheddar cheese, butter, flour, milk, and seasonings.
Make sure to measure everything out for a smooth cooking process.
Having everything ready will streamline your cooking and prevent any last-minute scrambling.
Step 2: Boil the Pasta
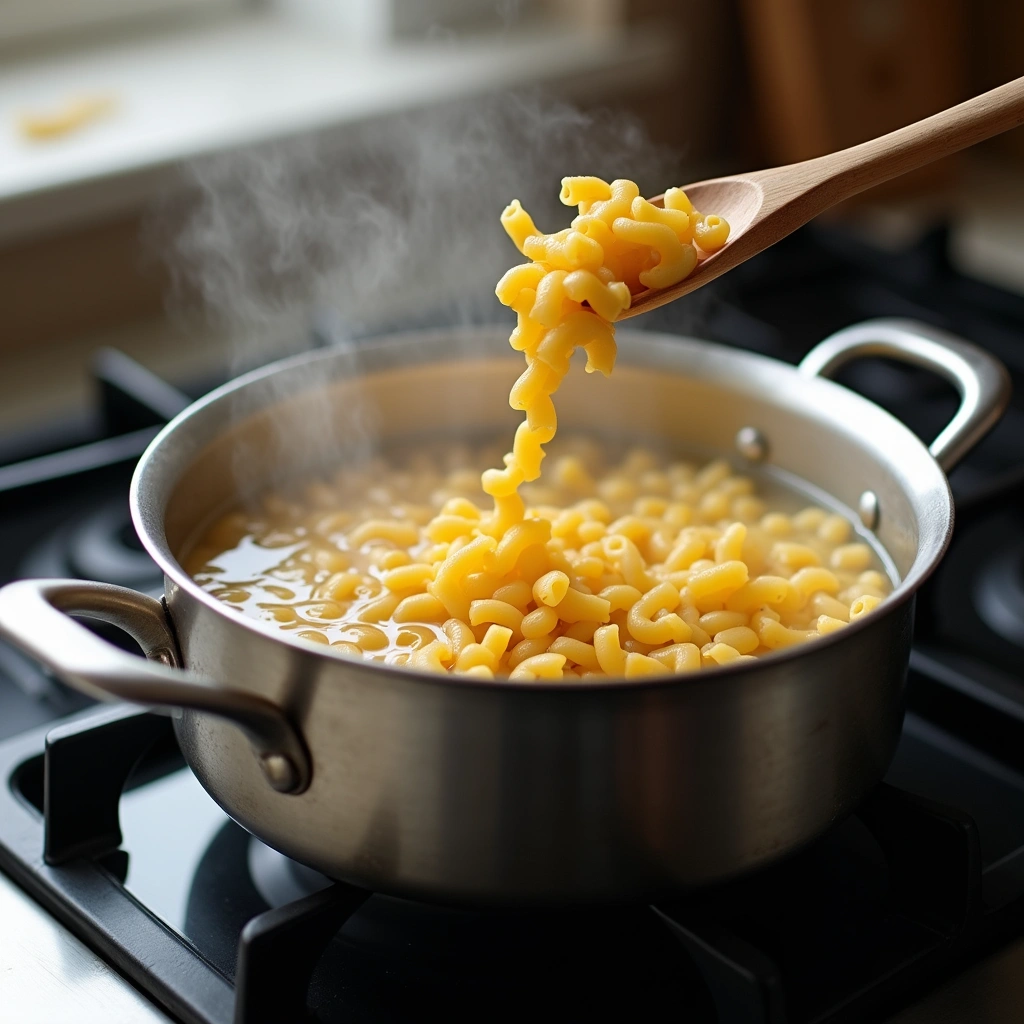
Fill a large pot with water and bring it to a rolling boil.
Add a generous amount of salt to the water to season the pasta.
Cook the elbow macaroni according to package instructions until al dente.
Be sure to stir occasionally to prevent sticking.
Step 3: Make the Roux
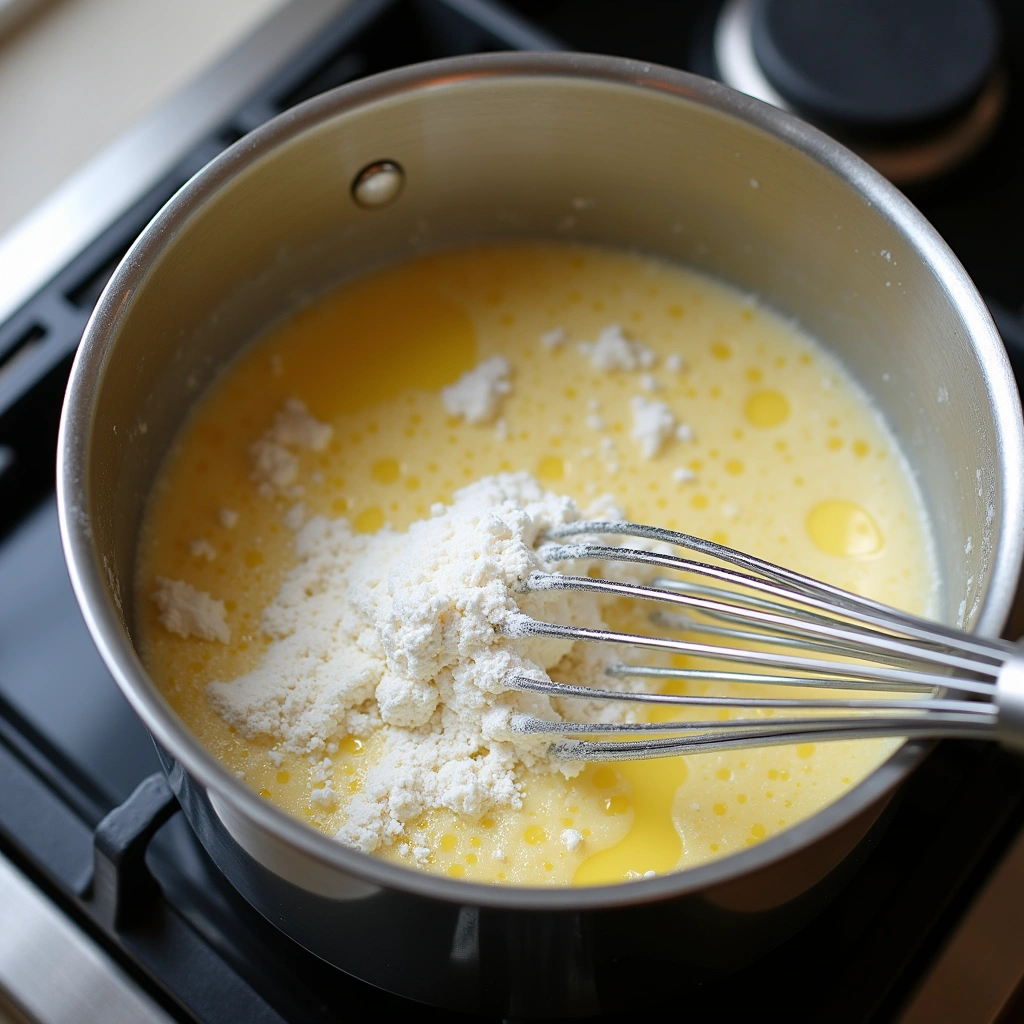
In a separate saucepan, melt the butter over medium heat.
Once melted, add the flour and whisk continuously to form a roux.
Cook for about 2 minutes until it turns a light golden color.
This step is crucial for achieving a smooth and creamy cheese sauce.
Step 4: Add Milk to the Roux
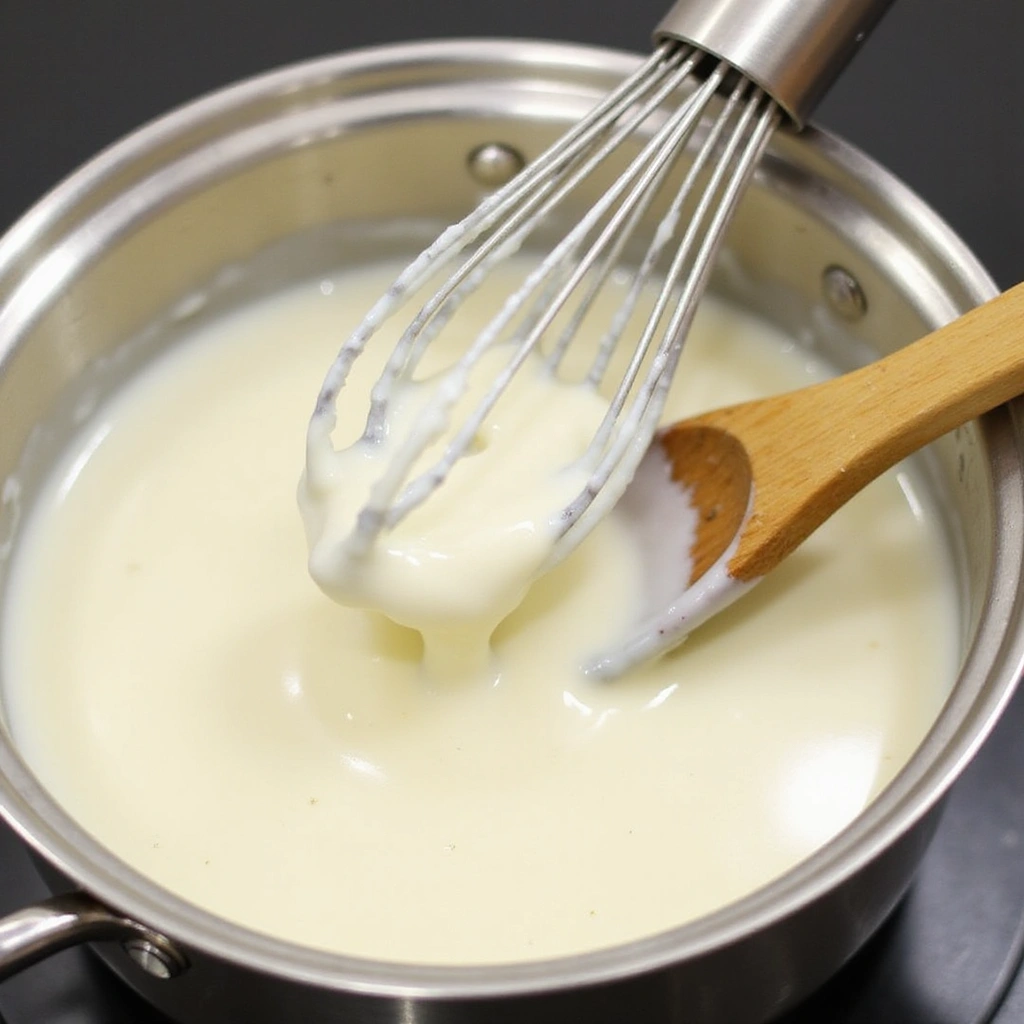
Gradually pour in the milk while whisking to avoid lumps.
Continue stirring until the mixture thickens and coats the back of a spoon.
This usually takes about 5-7 minutes over medium heat.
Make sure to keep the heat steady to prevent scorching.
Step 5: Stir in Cheese
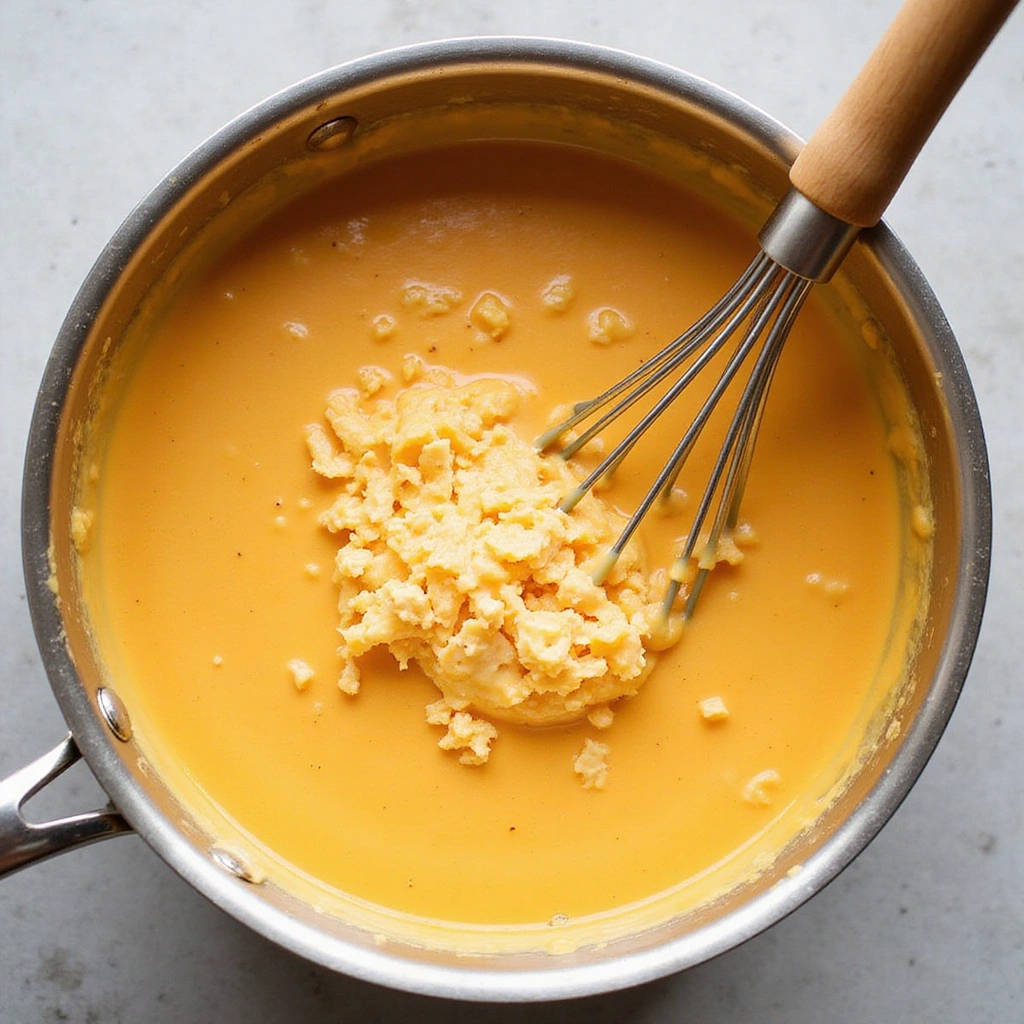
Remove the saucepan from heat and gradually stir in the shredded cheddar cheese.
Continue stirring until the cheese is fully melted and the sauce is creamy.
Taste and adjust seasoning with salt and pepper as desired.
This step adds richness and flavor to your cheese sauce.
Step 6: Combine Pasta and Cheese Sauce

Drain the cooked macaroni and return it to the pot.
Pour the cheese sauce over the pasta and stir until fully combined.
Make sure every piece of pasta is coated with the creamy sauce.
This ensures a consistent flavor throughout the dish.
Step 7: Transfer to Baking Dish
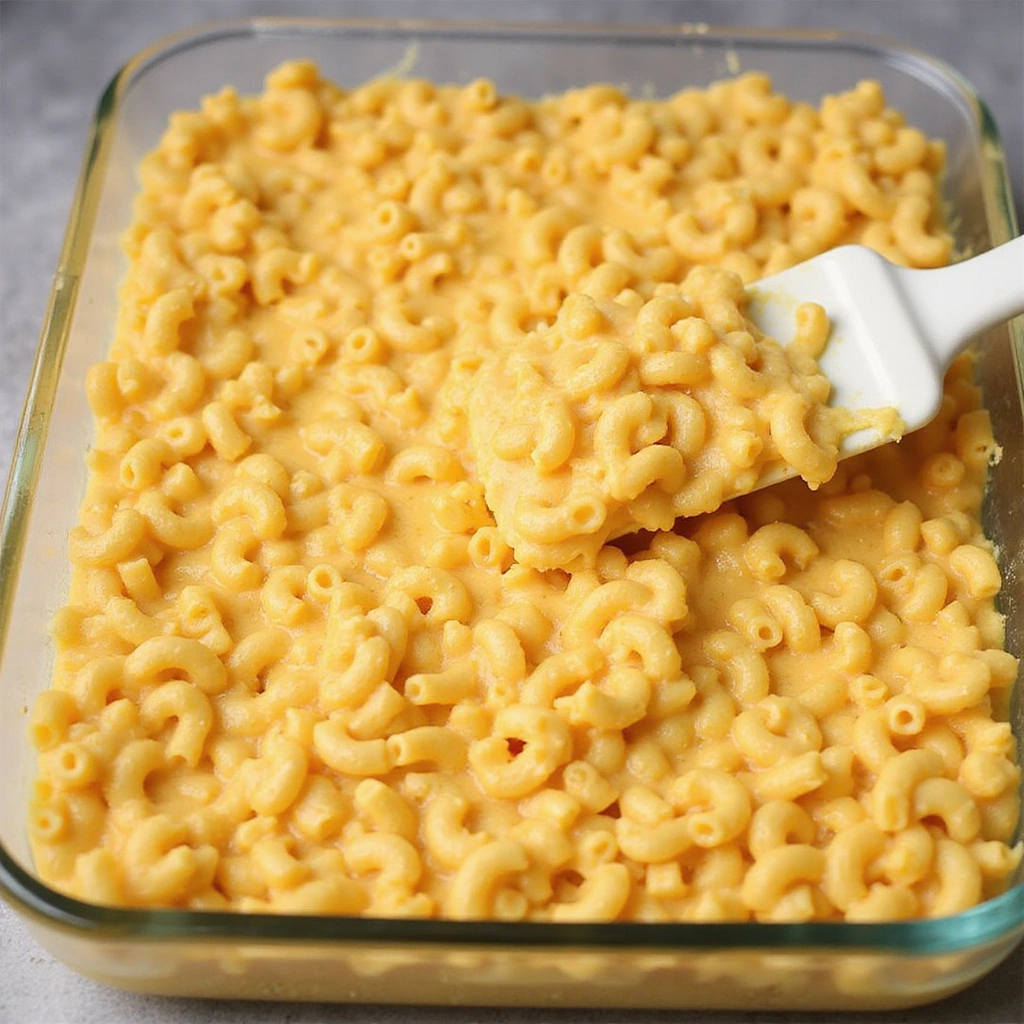
Preheat your oven to 350°F (175°C).
Transfer the mac and cheese mixture into a greased baking dish.
Spread it evenly with a spatula for uniform cooking.
This step prepares the dish for the final baking process.
Step 8: Add Breadcrumb Topping
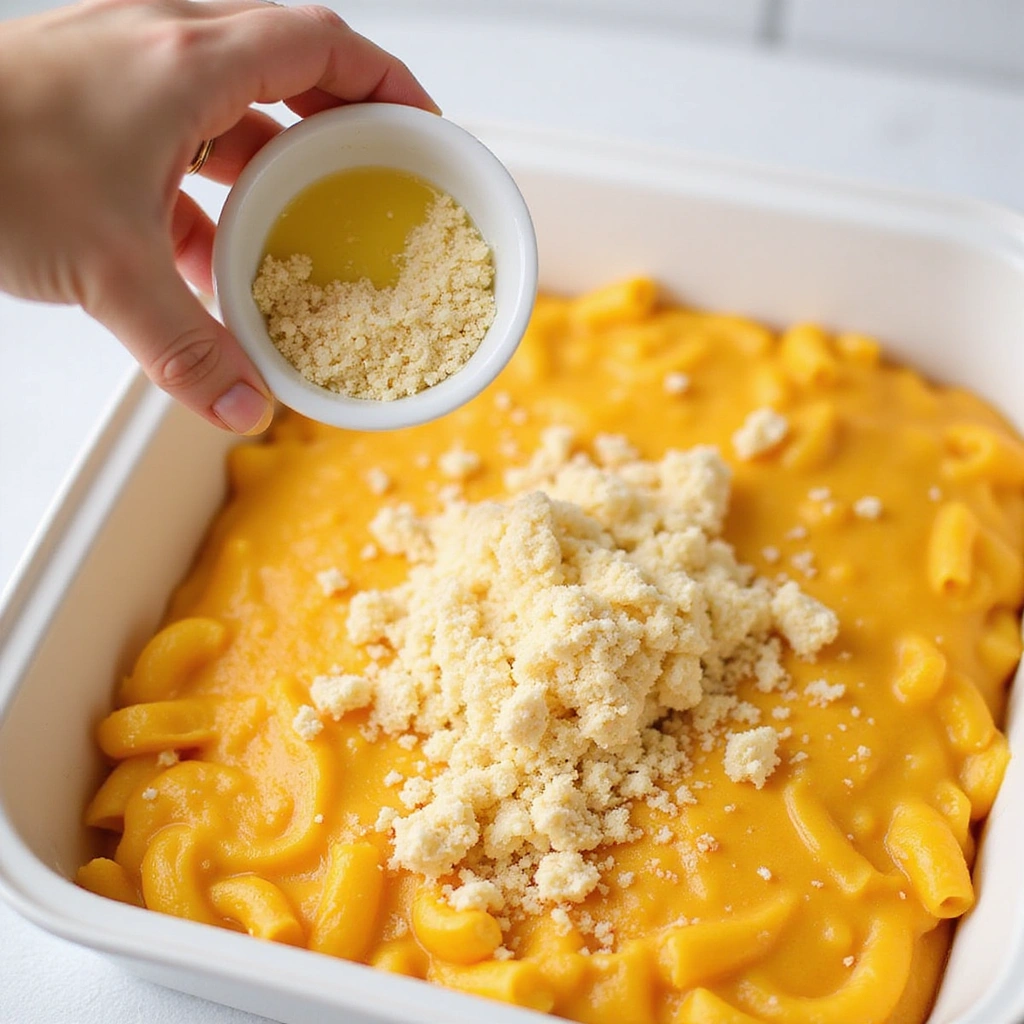
In a small bowl, mix breadcrumbs with melted butter for added flavor and crunch.
Sprinkle the breadcrumb mixture evenly over the top of the mac and cheese.
This creates a delicious crispy topping once baked.
Make sure to cover the surface completely for the best texture.
Step 9: Bake the Mac and Cheese
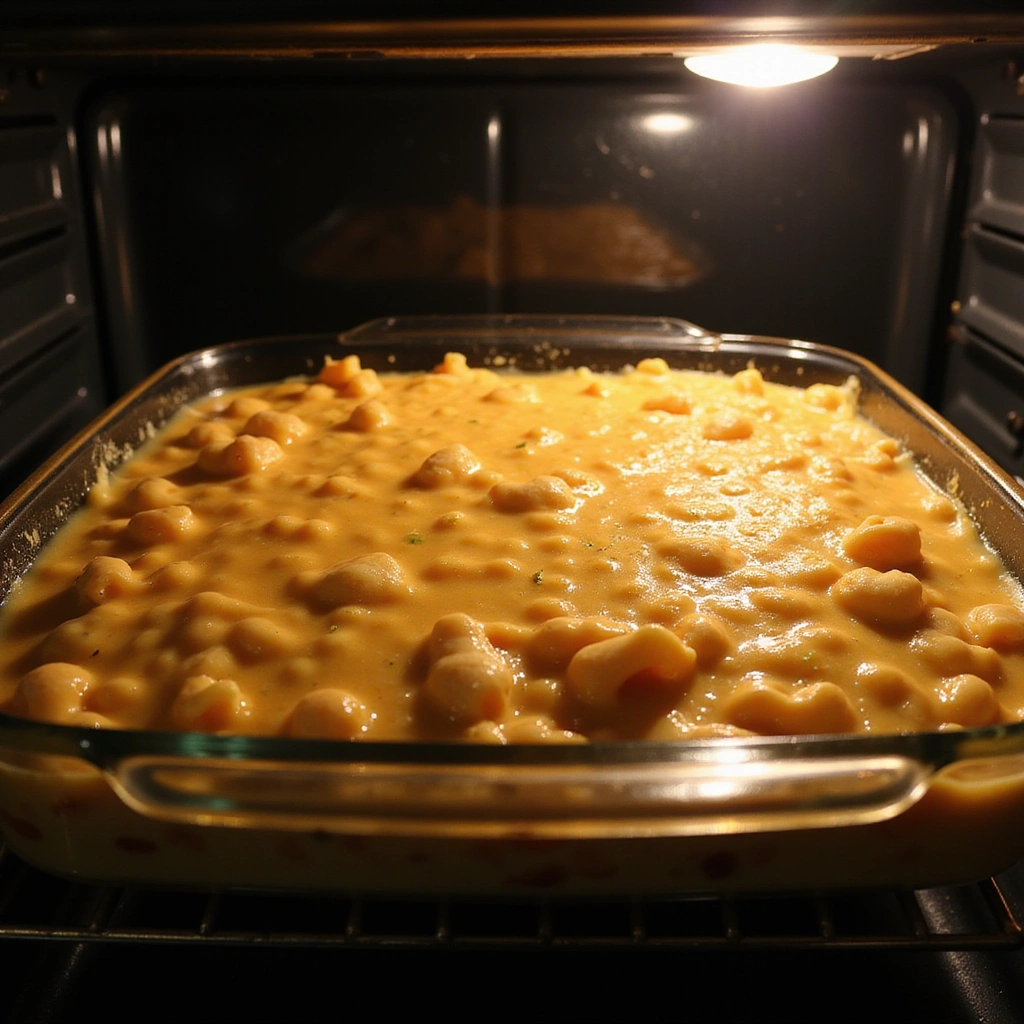
Place the baking dish in the preheated oven and bake for 20-25 minutes.
Keep an eye on it until the top is golden brown and bubbling.
This step ensures the flavors meld together beautifully.
Let it bake until it achieves the desired crispy texture.
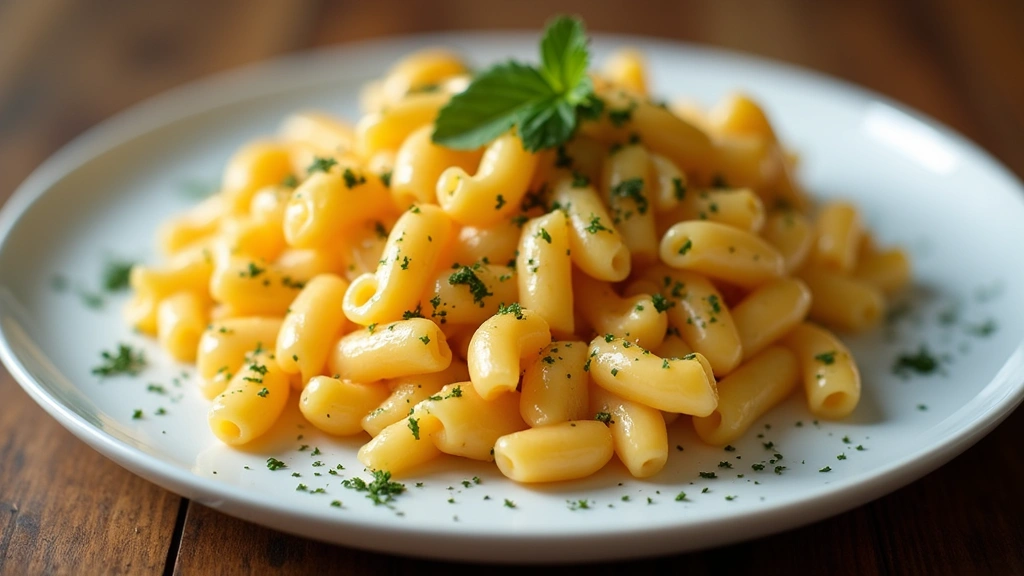
Step 10: Cool and Serve
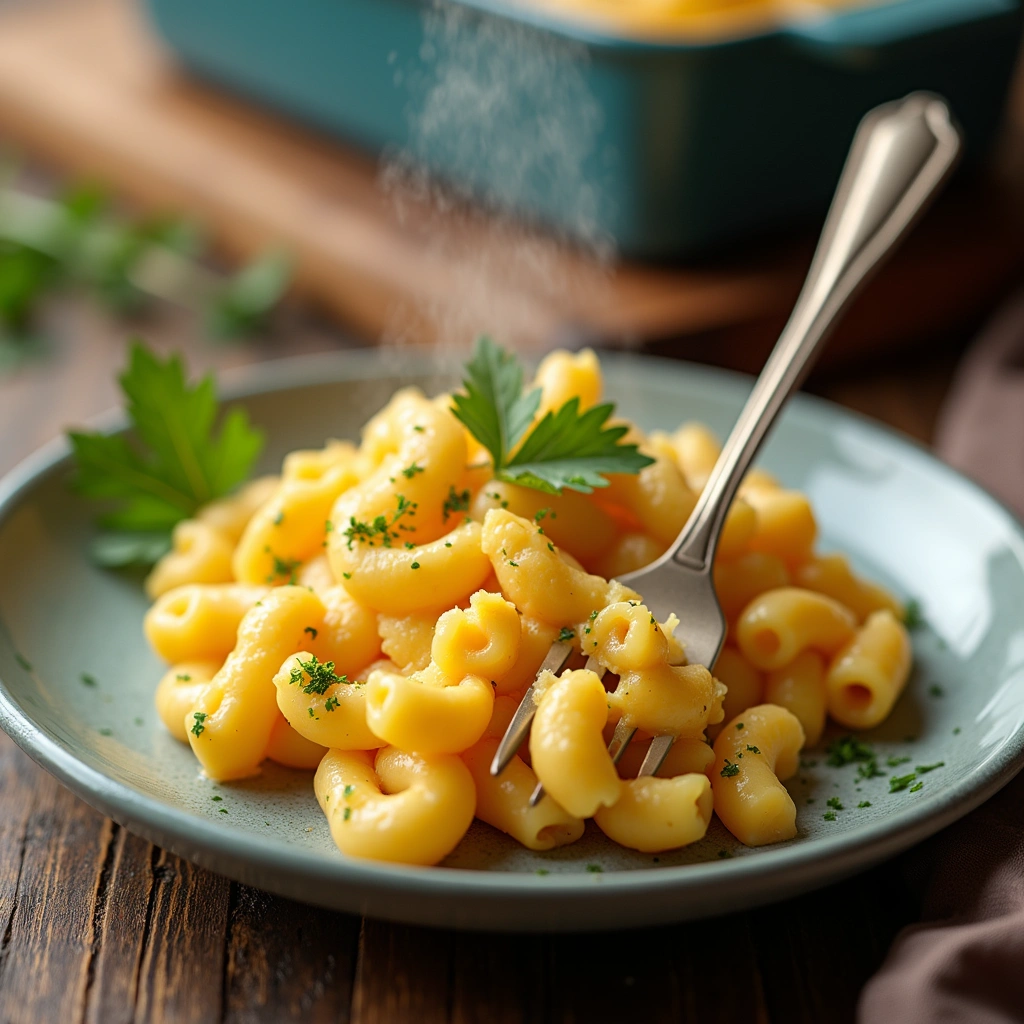
Once baked, remove the mac and cheese from the oven and let it cool for a few minutes.
This allows the cheese sauce to set slightly for easier serving.
Spoon it onto plates, garnishing with fresh herbs if desired.
Enjoy the creamy, cheesy goodness while it’s warm.
Ultimate Homemade Mac and Cheese
Ingredients
Method
- Measure all ingredients. Shred cheddar, bring milk to room temperature, and butter a 9×13-inch baking dish.
- Bring a large pot of salted water to a rolling boil. Cook elbow macaroni until al dente (7–8 minutes). Drain well.
- Melt 4 tbsp butter in a saucepan over medium heat. Whisk in 4 tbsp flour and cook 1–2 minutes until lightly golden and nutty.
- Gradually whisk in 3 cups milk, stirring constantly to avoid lumps. Cook 5–7 minutes until thick enough to coat the back of a spoon.
- Remove from heat. Stir in shredded cheddar in batches until melted and smooth. Season with salt, pepper, and Dijon (if using).
- Return drained pasta to the pot. Pour cheese sauce over and mix until every piece is coated.
- Preheat oven to 350°F (175°C). Spread mac and cheese evenly in the greased baking dish.
- Combine panko with 2 tbsp melted butter. Sprinkle evenly over the surface; dust with smoked paprika if desired.
- Bake 20–25 minutes until bubbling at the edges and the top is golden brown. Tent with foil near the end if topping browns too quickly.
- Rest 5–10 minutes for the sauce to set. Garnish with parsley or chives and serve warm.
Nutrition
Critical Timing and Temperature Guide
Cooking Pasta: Cook the pasta for 7-8 minutes or until al dente. Look for a slight firmness when biting into it. Avoid overcooking, as it will become mushy in the final bake.
Baking Time: Bake the mac and cheese at 350°F (175°C) for 20-25 minutes. The top should be golden brown and bubbling when done. Keep an eye on it to prevent burning.
Cooling Time: Allow the dish to cool for about 5-10 minutes after baking. This helps the sauce thicken slightly, making it easier to serve. Cutting into it immediately can cause the sauce to run.
Pro Tips for Homemade Mac And Cheese
• Ingredient Selection: Use high-quality sharp cheddar cheese for the best flavor. Freshly shredded cheese melts better compared to pre-packaged varieties.
• Preparation Secret: Consider adding a splash of Dijon mustard to the cheese sauce for an unexpected depth of flavor.
• Temperature Management: Make sure your milk is at room temperature before adding it to the roux to prevent lumps from forming.
• Texture Enhancement: For an ultra-creamy texture, blend the cheese with a bit of cream cheese or sour cream.
• Flavor Layering: Incorporate cooked bacon or sautéed onions to add complexity to the dish’s flavor.
• Make-Ahead Strategies: Prepare the cheese sauce and cook the pasta a day in advance, then combine and bake when ready to serve.
• Restaurant-Quality Finishing Touches: Top with a sprinkle of smoked paprika or fresh herbs just before serving for an appealing look.
• Equipment Optimization: Use a heavy-bottomed pot to ensure even heat distribution when making the cheese sauce.
Troubleshooting Common Issues
• Texture Too Dense: This can happen if the pasta is overcooked or the cheese sauce is too thick. Ensure you cook the pasta al dente and gradually add milk to the sauce until it reaches the desired consistency.
• Flavors Unbalanced: If your dish tastes bland, it may need more seasoning. Taste the cheese sauce before combining it with the pasta and adjust with salt, pepper, or a hint of hot sauce for a kick.
• Cheese Sauce Separated: If your cheese sauce breaks, it’s likely due to overheating. Always keep the heat moderate and remove from heat as soon as the cheese is melted.
• Breadcrumb Topping Burnt: If the topping browns too quickly, cover the dish with foil during the last few minutes of baking. This protects it from direct heat while still allowing the mac and cheese to cook through.
• Too Dry After Baking: If the mac and cheese comes out dry, it may need more cheese sauce. Always ensure a generous amount of sauce is mixed in before baking.
Variations and Regional Differences
• Southern Baked Mac and Cheese: This variation often includes a combination of cheeses like gouda and pepper jack, giving it a spicier profile. It’s typically baked for a longer time to achieve a crispy crust.
• Mac and Cheese with Lobster: In coastal areas, adding lobster to mac and cheese elevates it to a gourmet dish. The sweet, tender meat pairs beautifully with the creamy cheese.
• Vegan Mac and Cheese: A modern take that uses cashew cream and nutritional yeast for a cheesy flavor without dairy. This version is dense and rich, catering to plant-based diets.
• Modern Interpretations: Many chefs today experiment with different pasta shapes, gourmet cheeses, and unique toppings like truffle oil or caramelized onions, maintaining the dish’s essence while updating its appearance and flavor.
Food Science Behind the Recipe
• Emulsification: The process of combining fat and water in the cheese sauce creates a smooth, creamy texture. Understanding how emulsifiers like butter and flour work helps achieve the perfect sauce consistency.
• Gelatinization: When flour is cooked with fat and then liquid is added, the starch granules swell and thicken the sauce. This is crucial for creating a stable, creamy cheese sauce that doesn’t separate.
• Maillard Reaction: The browning of the breadcrumb topping during baking adds depth and flavor to the dish. This reaction occurs when proteins and sugars undergo heat, creating a complex flavor profile that enhances the overall dish.
Frequently Asked Questions
What’s the most common mistake people make when preparing mac and cheese? The top mistake is not salting the water when boiling the pasta. This can lead to bland pasta, which affects the overall flavor of the dish.
Can I prepare components of this dish in advance? Yes! You can make the cheese sauce and cook the pasta a day ahead. Just store them separately in the refrigerator until you’re ready to combine and bake.
How do I adapt this recipe for dietary restrictions? To make it gluten-free, use gluten-free pasta and flour. For a vegan version, substitute the cheese with nutritional yeast and the milk with plant-based milk.
What’s the best way to store and reheat leftovers? Store leftover mac and cheese in an airtight container in the fridge for up to 3 days. To reheat, add a splash of milk and microwave until warmed through, stirring occasionally.
Can I freeze this dish? Yes, mac and cheese freezes well. Allow it to cool completely, then transfer it to a freezer-safe container for up to 3 months. Thaw in the fridge overnight before reheating.
What wine or beverages pair best with this dish? A crisp white wine like Sauvignon Blanc complements the richness of mac and cheese. Light beers or iced tea also pair well.
How can I scale this recipe up for a crowd? Simply multiply the ingredient amounts by the number of servings needed. Make sure to use a larger pot for cooking and a bigger baking dish for baking.
What side dishes complement this recipe best? Fresh salads, roasted vegetables, or garlic bread make excellent side dishes to balance the richness of mac and cheese.
How do professional chefs elevate this dish for restaurant service? Chefs often use high-quality artisanal cheeses, add gourmet ingredients like truffles, and plate the dish with precision to enhance presentation.
Serving and Presentation Guide
• Traditional Presentation: Serve mac and cheese in a rustic baking dish, allowing guests to scoop their portions. Garnish with fresh parsley or chives for an appealing look.
• Modern Plating Ideas: For a contemporary twist, plate individual servings in small cast-iron skillets, topping with a sprinkle of panko breadcrumbs for added texture.
• Accompaniment Suggestions: Pair with a light side salad dressed with vinaigrette to cut through the richness, or serve with pickled vegetables for a tangy contrast.
• Special Occasion Presentation: For celebrations, use decorative ramekins for individual servings, and add a drizzle of truffle oil or a sprinkle of gourmet cheese on top before serving.
Conclusion
This Ultimate Homemade Mac and Cheese recipe is sure to bring comfort and joy to your dining table.
With its creamy texture and rich flavors, it’s a dish that everyone will love.
I encourage you to give it a try and make it your own with your favorite ingredients and twists.
Recipe Tags:
comfort-food
easy
dinner
kid-friendly
budget-friendly
cheesy
creamy
make-ahead
baked
vegetarian
American
quick-prep


This mac and cheese recipe looks amazing! I can almost smell it from here. Do you think I could add some bacon bits for extra flavor?
Absolutely, adding bacon bits would be a delicious twist! It will bring a great crunch and savory flavor to the creamy mac and cheese. Enjoy your cooking!
I tried making mac and cheese once and ended up with a cheesy explosion in my kitchen. Let’s just say my smoke alarm got a workout! 😂
Did you know that mac and cheese was once served to royalty? It’s true! I guess we’re all fancy when we whip this up at home.