
Make-Ahead Chicken Burrito Bowls: Meal-Prep Friendly Lunches
There’s something deeply satisfying about a meal that balances nutrition, flavor, and convenience.
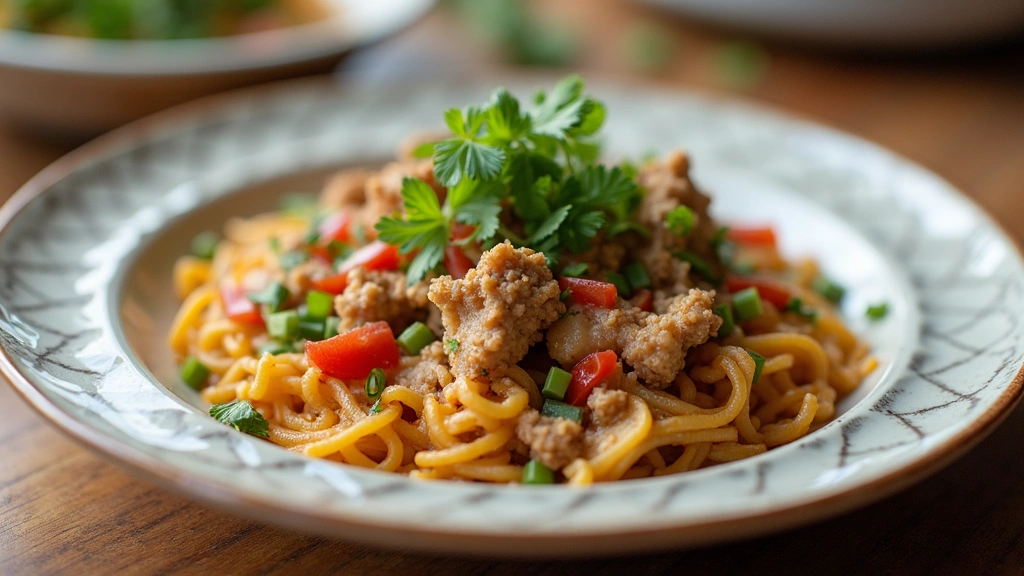
Make-Ahead Chicken Burrito Bowls are a perfect blend of savory, spicy, and mildly tangy flavors.
They capture the essence of Mexican-inspired cuisine with a modern twist.
These bowls are perfect for those busy weekdays when you need a hearty lunch without the hassle.
Whether you’re meal-prepping for the week or just looking for a comforting dish, these burrito bowls deliver every time.
Packed with protein and fiber, they ensure you stay full and energized throughout the day.
The History and Cultural Significance
• Make-Ahead Chicken Burrito traces its origins to Northern Mexico and the Southwestern United States, where it was originally created by field workers needing a portable and filling meal.
• The dish evolved over decades as it embraced a variety of ingredients like beans, rice, and vegetables, eventually becoming the beloved version we know today.
• In Mexican-American culture, this dish traditionally appears at family gatherings and celebrations, symbolizing unity and abundance.
• While many variations exist across different regions, the authentic version maintains a balance of protein, carbs, and vegetables that sets it apart from imitations.
Recipe Overview
Nutritional Information (per serving)
Essential Equipment Guide
Cast Iron Skillet: This tool is crucial for achieving a perfect sear on the chicken, providing a rich flavor profile. Alternatives like a non-stick pan can work, but won’t deliver the same depth of flavor. Look for a well-seasoned skillet to avoid sticking.
Rice Cooker: Ensures perfectly cooked rice every time, which forms the base of the burrito bowl. A pot on the stove works as an alternative, but requires more attention. Choose a model with a ‘keep warm’ function for added convenience.
Sharp Chef’s Knife: Essential for efficiently chopping vegetables and slicing chicken. A dull knife can crush ingredients and make cooking laborious. Look for one with a comfortable grip and balanced weight.
Ingredients
For the Base
|
|
| Amount | Ingredient | Notes |
|---|---|---|
| 2 cups | cooked rice | provides a hearty foundation |
| 1 cup | black beans | rinsed and drained, adds protein and fiber |
For the Chicken
| Amount | Ingredient | Notes |
|---|---|---|
| 1 pound | chicken breast | boneless, skinless, sliced into strips |
| 2 tablespoons | olive oil | for searing |
| 1 teaspoon | chili powder | adds heat |
| 1 teaspoon | cumin | adds earthiness |
| 1 teaspoon | garlic powder | enhances flavor |
Vegetables
| Amount | Ingredient | Notes |
|---|---|---|
| 1 large | bell pepper | sliced, adds sweetness |
| 1 medium | red onion | sliced, adds sharpness |
Seasonings
| Amount | Ingredient | Notes |
|---|---|---|
| 1 teaspoon | salt | enhances flavor |
| 1 teaspoon | black pepper | adds depth |
For the Garnish
| Amount | Ingredient | Notes |
|---|---|---|
| 1 cup | salsa | adds freshness |
| 1 cup | shredded cheese | adds creaminess |
Preparation Methods
Searing Technique: Searing the chicken in a hot skillet creates a flavorful crust that locks in juices. This technique is crucial for developing depth in flavor. Ensure your pan is properly heated before adding the chicken to avoid steaming instead of searing.
Layering Flavors: Building flavors by adding spices at different stages ensures a complex taste. Start with a base spice rub for the chicken, then adjust seasoning during cooking. Taste frequently and adjust to achieve a balance.
Batch Cooking: Preparing multiple servings at once saves time and enhances flavors as ingredients meld. Use large pans to avoid overcrowding and ensure even cooking. Store components separately to maintain texture and flavor.
Step 1: Prepare Ingredients

Gather all your ingredients and equipment.
Slice the chicken breast into thin strips.
Dice the bell pepper and slice the red onion.
Ensure the rice is cooked and set aside.
Step 2: Season the Chicken

In a bowl, combine chicken strips with olive oil, chili powder, cumin, garlic powder, salt, and black pepper.
Toss until the chicken is evenly coated with the spices.
Let it marinate for at least 10 minutes to absorb flavors.
Ensure all pieces are well-seasoned for a balanced taste.
Step 3: Sear the Chicken
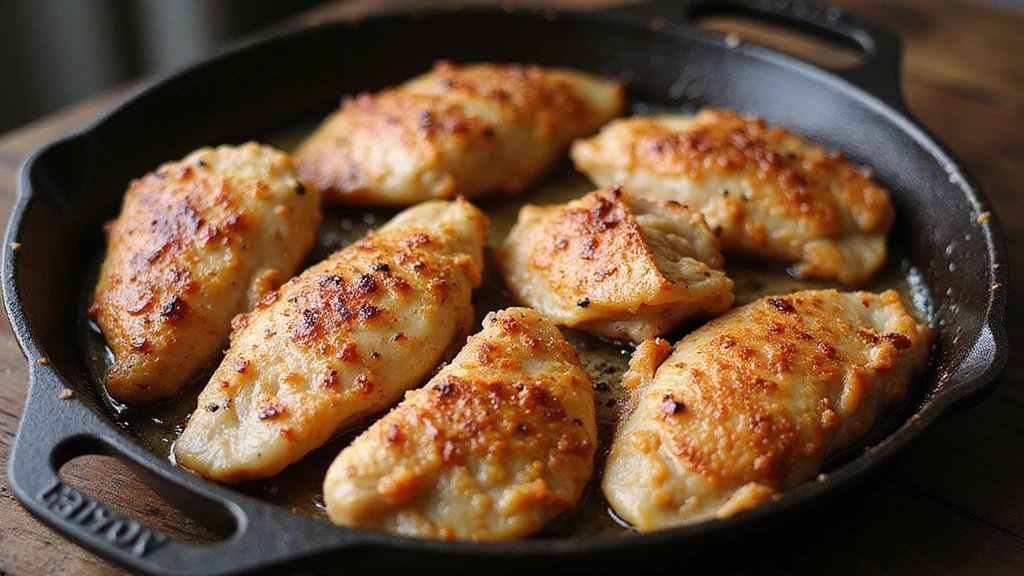
Heat a cast iron skillet over medium-high heat.
Add the marinated chicken strips in a single layer.
Sear each side for 3-4 minutes until golden brown and cooked through.
Avoid overcrowding the pan to ensure a proper sear.
Step 4: Sauté the Vegetables

In the same skillet, add sliced bell pepper and red onion.
Sauté for 5-7 minutes until softened and slightly caramelized.
Stir occasionally to prevent sticking and ensure even cooking.
Vegetables should maintain some crunch for texture.
Step 5: Assemble the Bowls

Divide cooked rice among four serving bowls.
Top each bowl with seared chicken strips.
Add a portion of sautéed vegetables to each bowl.
Ensure even distribution for balanced flavors in every bite.
Step 6: Add the Toppings
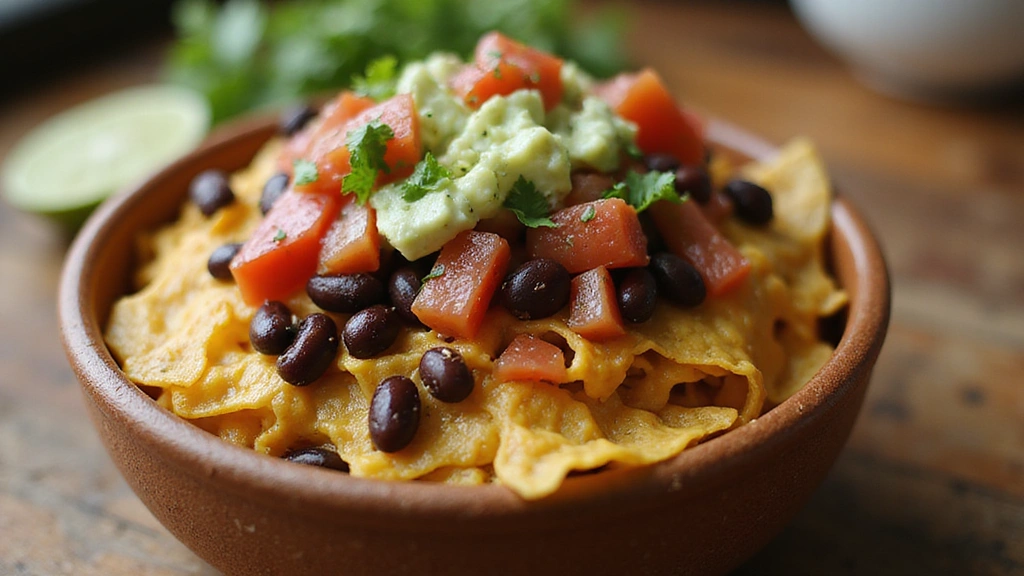
Sprinkle each bowl with black beans for additional protein and fiber.
Add a generous spoonful of salsa for freshness.
Sprinkle shredded cheese on top for creaminess.
Adjust toppings according to personal preference.
Step 7: Store for Meal Prep

If preparing for later, allow bowls to cool completely.
Transfer each bowl to an airtight container.
Store in the refrigerator for up to 4 days.
Ensure containers are properly sealed to maintain freshness.
Step 8: Reheat and Serve
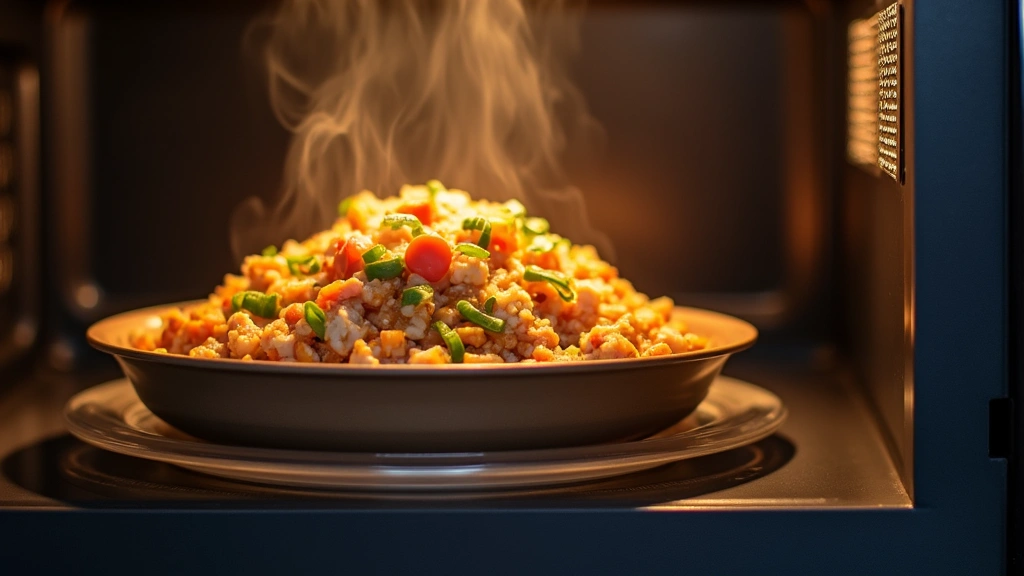
When ready to eat, remove the lid from the container.
Microwave on high for 2-3 minutes until heated through.
Check the temperature to ensure it's hot throughout.
Serve immediately for optimal taste and experience.
Critical Timing and Temperature Guide
Searing Chicken: Sear chicken at medium-high heat for 3-4 minutes per side. Look for a golden-brown crust as an indicator. Avoid flipping too early to prevent sticking.
Cooking Vegetables: Sauté vegetables for 5-7 minutes until they begin to caramelize. They should be tender yet still crisp. Stir occasionally to avoid burning.
Reheating Meal Prep: Reheat in the microwave on high for 2-3 minutes. Ensure internal temperature reaches at least 165°F to ensure safety. Stir halfway through for even heating.
Pro Tips for Make-Ahead Chicken Burrito
• Ingredient Selection: Choose organic chicken for the best flavor and texture, and fresh vegetables for vibrant taste and color.
• Preparation Secret: Marinate the chicken for at least an hour if possible to deepen the flavor profile.
• Temperature Management: Ensure the skillet is adequately heated before adding chicken to achieve the best sear.
• Texture Enhancement: Cook rice to a slightly al dente texture to prevent it from becoming mushy when reheated.
• Flavor Layering: Add a squeeze of lime juice before serving to enhance the overall flavor complexity.
• Make-Ahead Strategies: Store components separately to maintain texture, particularly the rice and vegetables.
• Restaurant-Quality Finishing Touches: Garnish with fresh cilantro and a sprinkle of lime zest before serving.
• Equipment Optimization: Use the highest quality non-stick or cast iron skillet available for the best results.
Troubleshooting Common Issues
• Chicken Too Dry: This can happen if overcooked or not marinated long enough. Ensure you sear at the right temperature and consider a longer marination time.
• Flavors Unbalanced: Often due to uneven seasoning. Taste and adjust spices during cooking to ensure balance.
• Rice Too Mushy: Occurs from overcooking or excessive water. Use a rice cooker for consistent results and let rice rest before serving.
• Vegetables Too Soggy: Results from overcrowding in the pan. Cook in batches if necessary to maintain texture.
• Inadequate Heating: Can lead to uneven reheating. Stir halfway through microwaving and ensure even heat distribution.
Variations and Regional Differences
• Southwestern Style: Includes corn and avocado, and often uses a spicier salsa.
• Tex-Mex Variation: Incorporates refried beans instead of black beans and uses cheddar cheese for a richer flavor.
• Vegetarian Adaptation: Replaces chicken with tofu or grilled portobello mushrooms, maintaining protein content.
• Caribbean Influence: Adds jerk seasoning to the chicken and includes plantains for a sweet contrast.
Food Science Behind the Recipe
• Maillard Reaction: This chemical reaction occurs when searing the chicken, creating complex flavors and a desirable crust.
• Starch Gelatinization: In the rice, this process ensures proper texture and cohesion, especially important when reheating.
• Emulsification: The salsa acts as an emulsifier, balancing acidity and adding moisture to the dish.
Frequently Asked Questions
What's the most common mistake people make when preparing Make-Ahead Chicken Burrito Bowls? Overcooking the chicken, which leads to dryness. Always monitor cooking time and temperature closely.
Can I freeze the burrito bowls? Yes, but it's best to freeze components separately to maintain texture. Reheat thoroughly before serving.
How can I add more spice? Incorporate sliced jalapeños or use a hotter salsa to increase the heat level.
What if I don't have a cast iron skillet? A heavy-bottomed stainless steel pan can be used, but ensure it's well-heated before adding ingredients.
Can I use brown rice instead of white? Absolutely, just adjust cooking times as brown rice typically takes longer to cook.
How long can I store the meal-prepped bowls in the fridge? They can be stored for up to four days in airtight containers.
What's the best way to keep the rice from getting dry? Adding a small amount of water or broth before reheating can help maintain moisture and texture.
Serving and Presentation Guide
• Traditional Presentation: Serve in wide, shallow bowls to display the colorful layers and components.
• Family Style: Arrange components separately on a large platter allowing guests to build their own bowls.
• Rustic Style: Use earthenware bowls to emphasize the hearty, homemade nature of the dish.
• Garnished Elegance: Finish with a sprig of cilantro and a lime wedge for a fresh and vibrant touch.
Conclusion
Make-Ahead Chicken Burrito Bowls offer a delightful balance of convenience and flavor.
With the flexibility to adjust ingredients to your taste, they are a versatile addition to any meal prep routine.
Try this recipe today and enjoy hearty, satisfying lunches throughout the week.


These chicken burrito bowls look amazing! I love meal prepping for the week, but my last attempt ended with a kitchen disaster—let’s just say my rice turned into a mushy mess. How do you keep your rice from getting too sticky?
Haha, these burrito bowls are so good they might just turn me into a meal prep fanatic! But seriously, if only my kitchen could magically clean itself after cooking—now that would be a win!
Did you know that burritos originated in Mexico over 100 years ago? It’s crazy how a simple dish has become so popular everywhere! I’m definitely trying these meal prep bowls this week!
I made something similar last week, and I ended up eating it for three days straight! My friends joked that I was in a burrito bowl relationship. Do you ever find a recipe you just can’t get enough of?