Sweet and Sour Chicken Recipe: Quick, Easy, and Family-Friendly
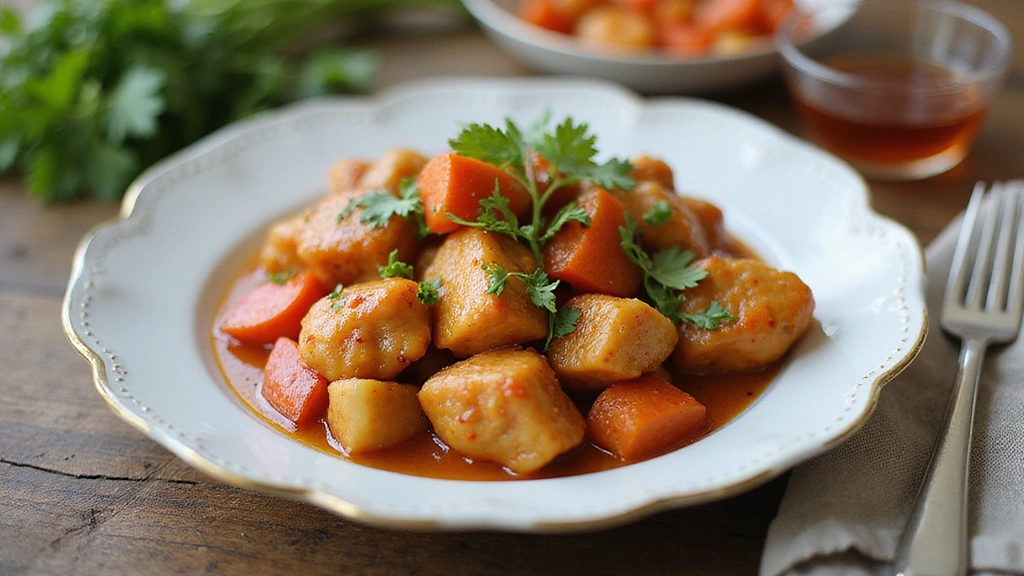
Sweet and sour chicken is a beloved dish that perfectly balances tangy, zesty flavors with a hint of sweetness.
The crispy chicken combined with a vibrant sauce creates an explosion of taste that appeals to both kids and adults alike.
I first enjoyed this dish at a family gathering, where the colorful presentation and delightful aroma drew everyone to the table.
Whether you’re looking for a quick weeknight meal or something special for a family gathering, this sweet and sour chicken recipe is sure to impress.
The History and Cultural Significance
• Sweet and sour chicken traces its origins to Southern China, where it was originally created as a balance of flavors in culinary traditions.
• The dish evolved over decades as it was adapted to suit Western tastes, eventually becoming a staple in Chinese-American cuisine.
• In Chinese culture, sweet and sour dishes traditionally appear during festive occasions, symbolizing harmony and balance.
• While many variations exist across different regions, the authentic version maintains its signature balance of sweetness and acidity that sets it apart from imitations.
Recipe Overview
Servings: 4
Prep Time: 15 minutes
Active Cooking Time: 20 minutes
Total Time: 35 minutes
Difficulty: Easy
Best Season: Year-round
Special Equipment: Wok or large skillet
Nutritional Information (per serving)
Calories: 290 kcal
Protein: 22 g
Carbohydrates: 18 g
Fat: 14 g
Fiber: 1 g
Sugar: 8 g
Sodium: 600 mg
Essential Equipment Guide
Wok or Large Skillet: A wok is ideal for achieving high heat quickly, allowing the chicken to sear properly and retain moisture. If you don’t have a wok, a large skillet will work, but choose one with high sides to prevent splatters. Look for a non-stick surface to facilitate easy cooking and cleanup.
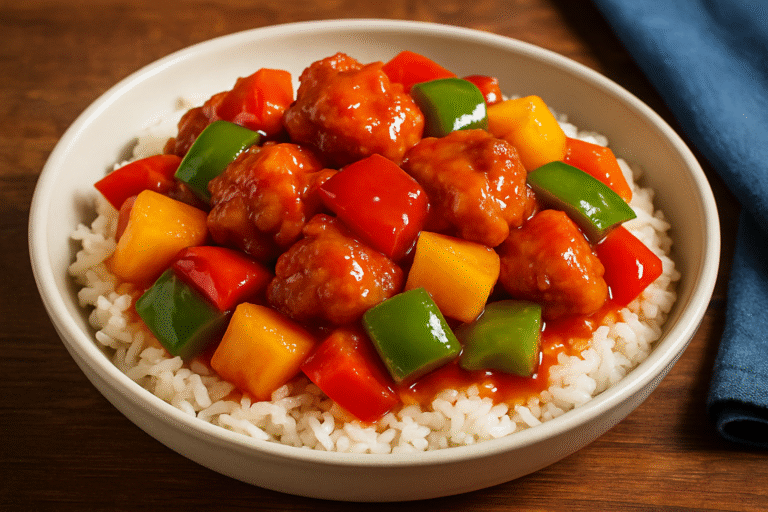
Sweet and Sour Chicken
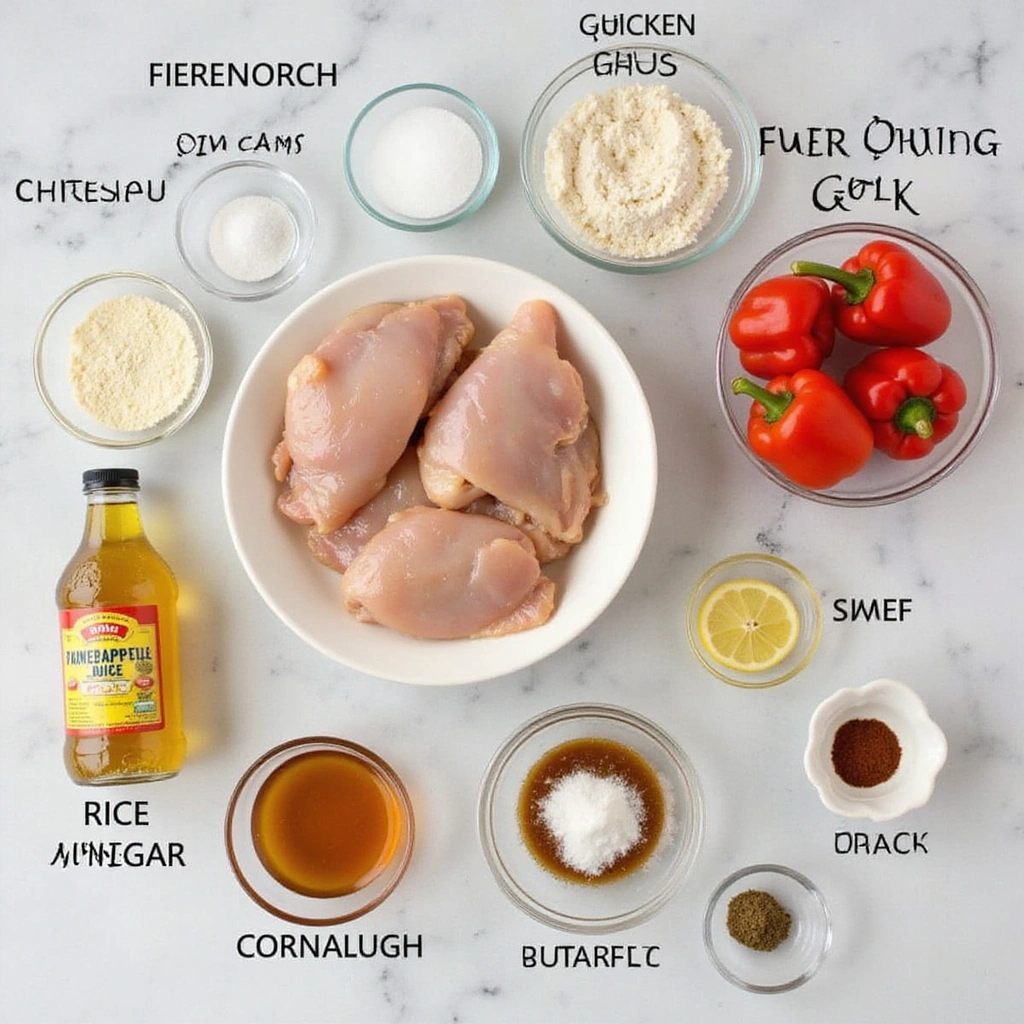
Ingredients
Method
- Cut the chicken into bite-sized pieces and pat dry. Coat in seasoned cornstarch.
- Heat oil in a wok or skillet over medium-high heat. Fry chicken in batches until golden and cooked through.
- In the same wok, sauté bell pepper and onion until just tender.
- In a bowl, whisk together pineapple juice, rice vinegar, soy sauce, and sugar. Pour into the wok and bring to a simmer.
- Add the fried chicken back into the wok and toss to coat in the sauce. Cook for 2-3 minutes until heated through.
- Serve hot, garnished with sesame seeds and green onions. Best paired with steamed rice or noodles.
Nutrition
Meat Thermometer: This tool ensures that your chicken is cooked to the perfect internal temperature of 165°F, which is crucial for food safety. If you don’t have one, make sure to cut into the thickest part of the chicken to check that it’s no longer pink and the juices run clear.
Cutting Board and Sharp Knife: A sturdy cutting board and a sharp knife are essential for safely chopping the chicken and vegetables. A good knife will allow for clean cuts, ensuring even cooking and presentation.
Key Ingredients Explained
For Chicken:
• 1 pound chicken breast, boneless and skinless – Choose chicken breasts that are firm and have a pink color with minimal blemishes. Fresh chicken is crucial for flavor and tenderness; if using frozen, ensure it’s properly thawed before cooking to avoid texture issues.
• 1/2 cup cornstarch – This is used to coat the chicken to achieve a crispy texture when frying. Opt for a high-quality brand to ensure it forms a nice crust; alternatives like arrowroot powder may work but could yield a slightly different texture.
For Sauce:
• 1/2 cup pineapple juice – Fresh pineapple juice is ideal for a vibrant flavor; if that’s unavailable, canned juice is a suitable substitute, but check for added sugars. The acidity helps balance the sweetness and adds depth to the dish.
• 1/4 cup rice vinegar – Look for unseasoned rice vinegar for the best tang; seasoned options can introduce unwanted flavors. This ingredient is key for the sour component that balances the overall dish.
Preparation Methods
Coating Chicken: This technique involves dredging the chicken pieces in cornstarch before frying. This creates a crispy outer layer while keeping the meat juicy inside. Make sure the chicken is fully coated for an even texture, and shake off excess cornstarch to prevent clumping.
Stir-Frying: Stir-frying means cooking quickly over high heat with a small amount of oil while continuously moving the ingredients in the pan. This method helps to seal in flavors and maintain the crispness of vegetables. Use a spatula to keep the chicken moving and to avoid sticking.
Simmering Sauce: After frying, the sauce is simmered to thicken and meld the flavors. This process should be done on medium heat until bubbling, which enhances the taste and creates a glossy finish. Stir frequently to prevent burning and ensure even consistency.
Step 1: Gather Ingredients
Start by gathering all necessary ingredients for the recipe.
Make sure everything is fresh and properly measured out.
This step helps in streamlining the cooking process and ensures you don’t miss anything.
Find a clean countertop or table to organize your ingredients for easy access.
Step 2: Prepare Chicken
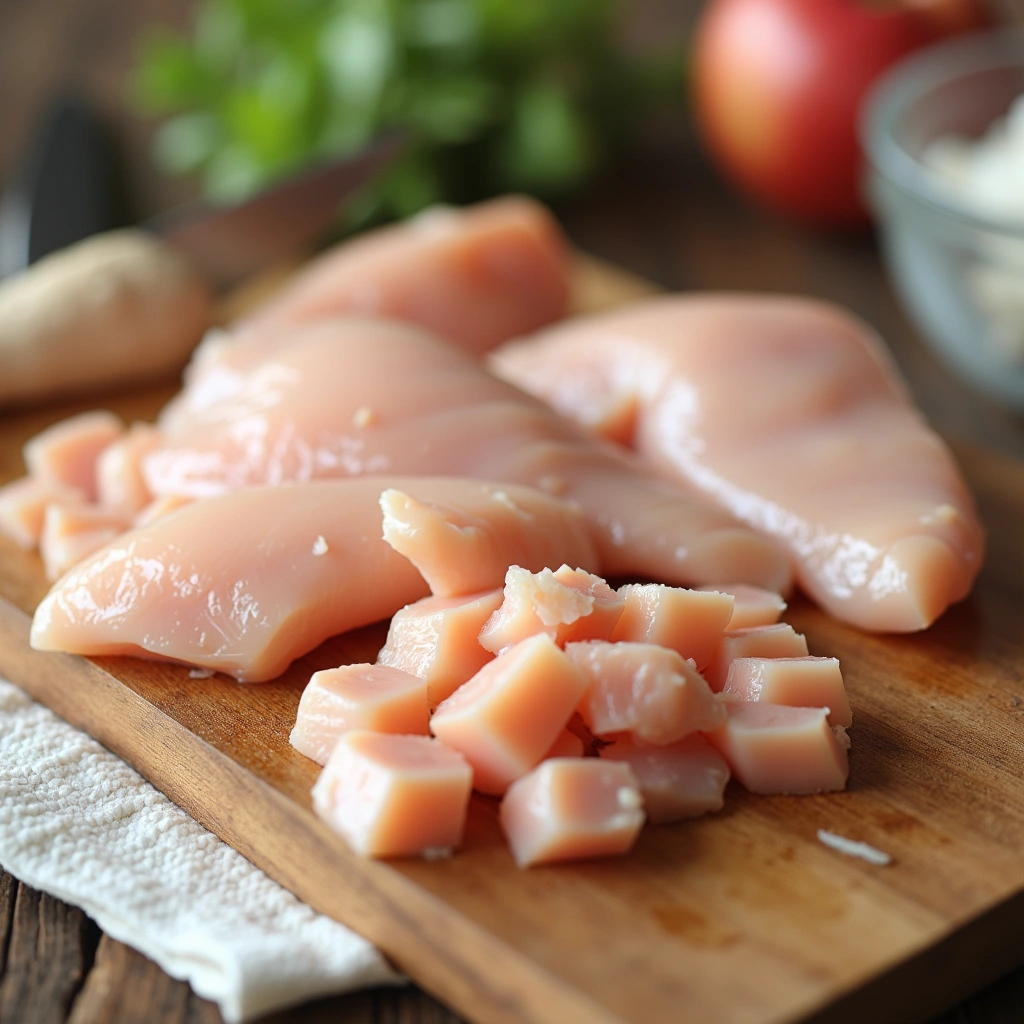
Begin by cutting the chicken breasts into bite-sized pieces.
Ensure the pieces are uniform in size for even cooking.
Pat them dry with a paper towel to help the cornstarch adhere better.
This technique also aids in achieving a crispy texture when frying.
Step 3: Coat Chicken with Cornstarch
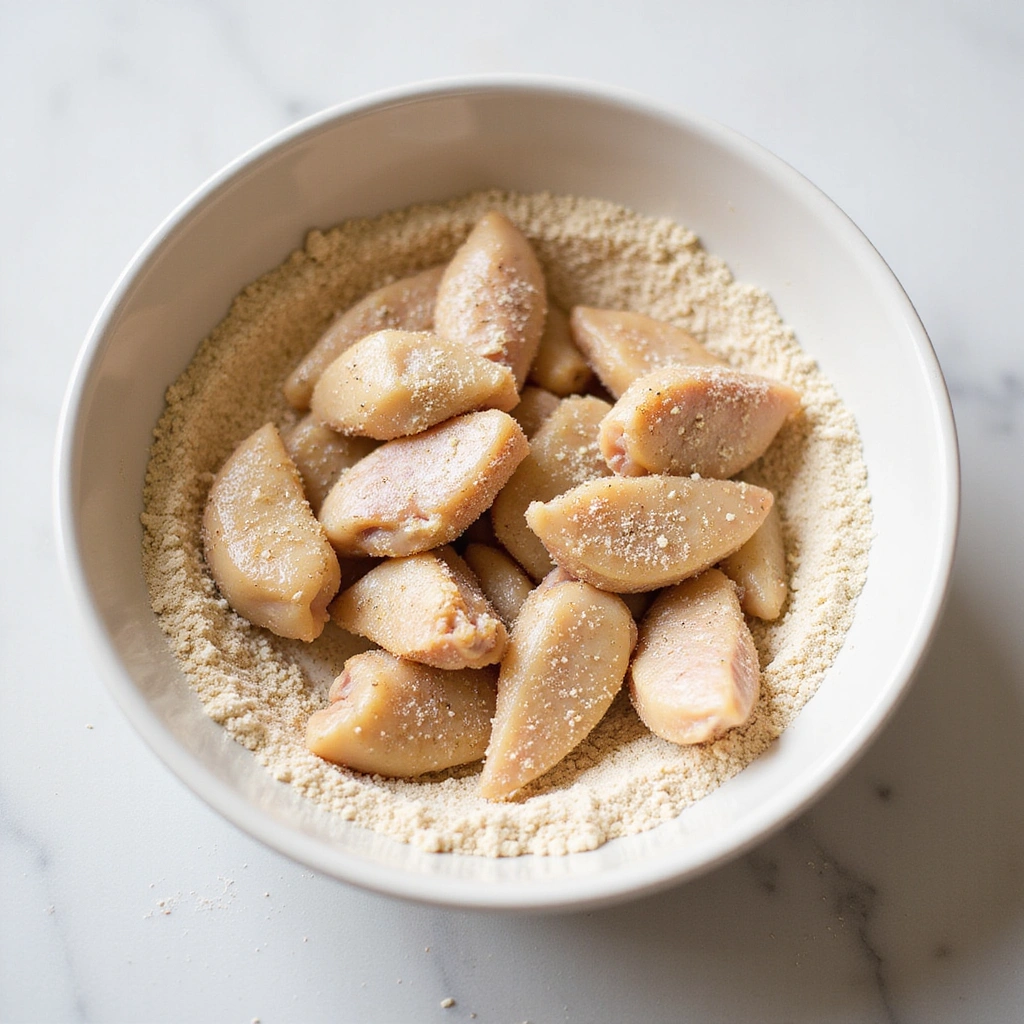
In a bowl, add the cornstarch and season it lightly with salt and pepper.
Toss the chicken pieces in the cornstarch until they are fully coated.
Shake off any excess cornstarch to avoid clumps during frying.
This step is crucial for achieving that desirable crispy coating.
Step 4: Heat Oil in Wok
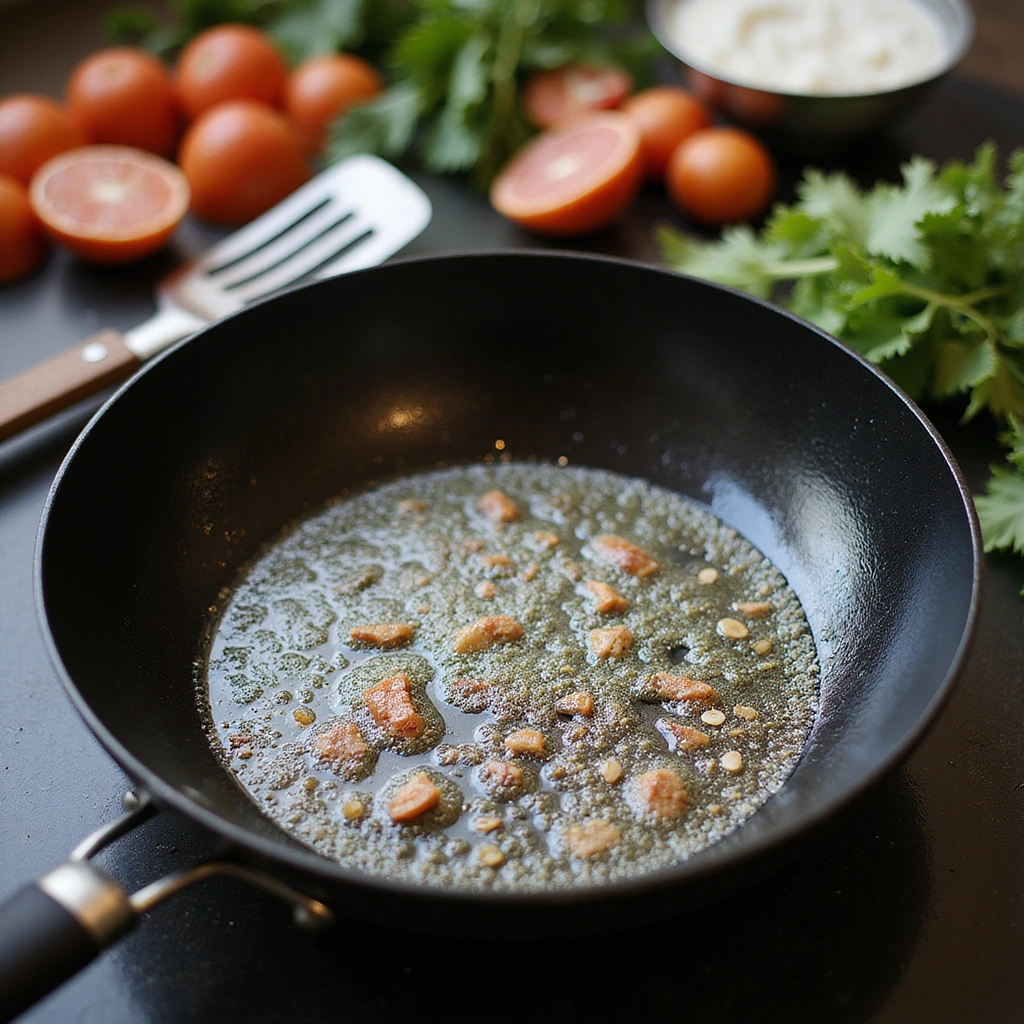
Place a wok or large skillet over medium-high heat and add vegetable oil.
Allow the oil to heat until it shimmers, indicating it’s ready for frying.
You can test the oil by dropping a small piece of chicken to see if it sizzles.
Proper oil temperature is crucial for achieving a crispy texture.
Step 5: Fry Chicken

Carefully add the coated chicken pieces to the hot oil in a single layer.
Fry them in batches if necessary to avoid overcrowding the pan.
Cook for 4-5 minutes, turning occasionally until they are golden brown and cooked through.
Use a slotted spoon to transfer them to a plate lined with paper towels to drain excess oil.
Step 6: Sauté Vegetables
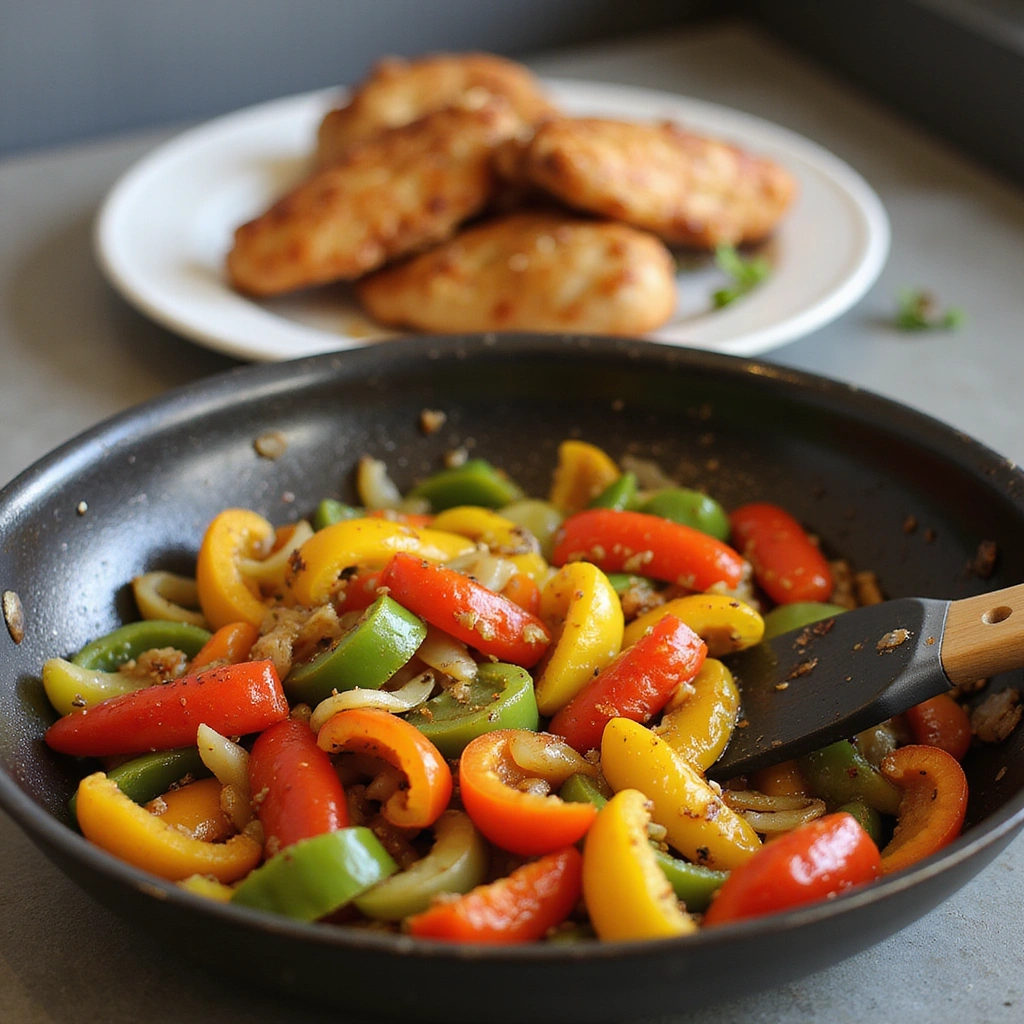
In the same wok, add bell peppers and onions and stir-fry for 2-3 minutes.
The vegetables should be vibrant and slightly tender but still crisp.
Make sure to scrape up any bits from the bottom of the pan for added flavor.
This step adds freshness and color to the dish.
Step 7: Prepare the Sauce
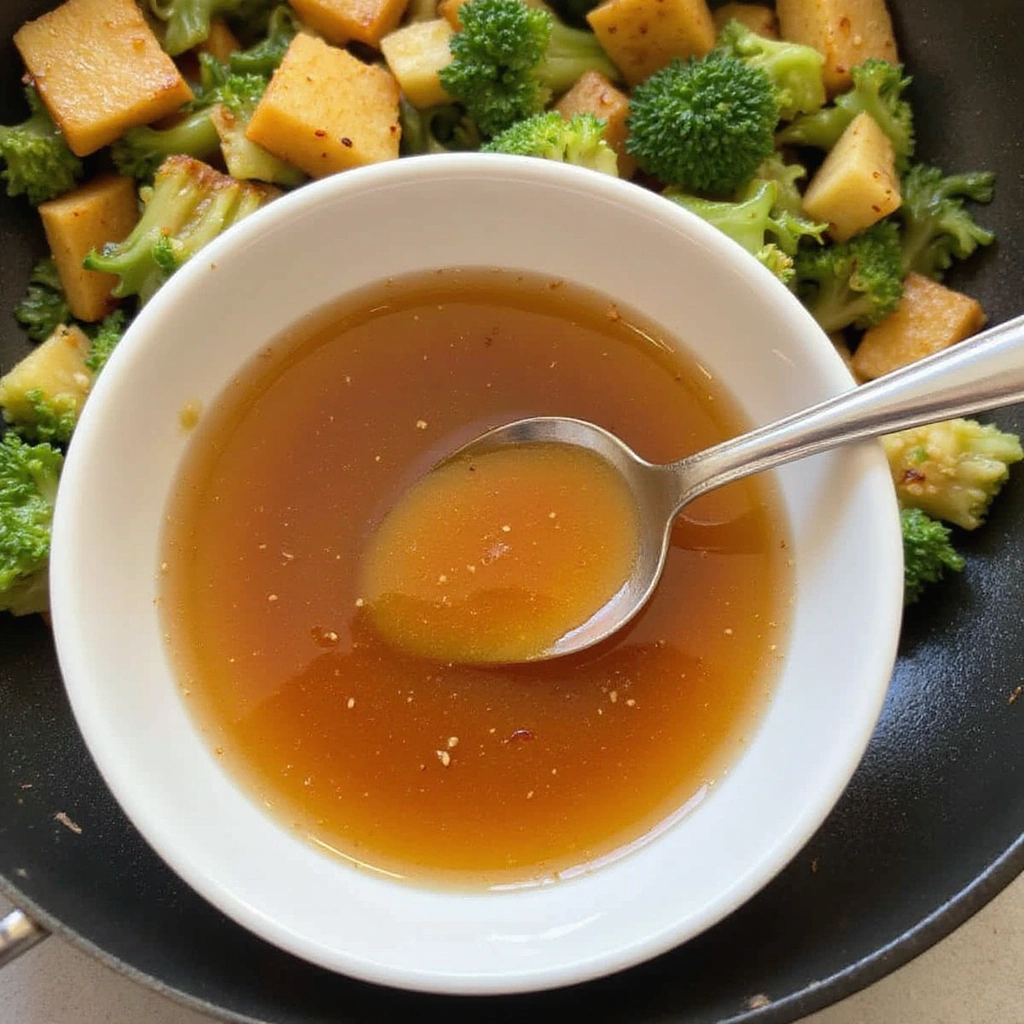
In a small bowl, mix together pineapple juice, rice vinegar, soy sauce, and sugar.
Once the vegetables are sautéed, pour the sauce mixture into the wok.
Bring it to a simmer while stirring to combine all ingredients thoroughly.
This will create a luscious sauce that brings the dish together.
Step 8: Combine Chicken and Sauce

Add the fried chicken back into the wok with the simmering sauce and vegetables.
Toss everything together gently to ensure the chicken is well-coated with the sauce.
Let it cook for an additional 2-3 minutes to allow flavors to meld.
The sauce should thicken slightly, creating a glossy finish.
Step 9: Serve and Garnish

Transfer the sweet and sour chicken to a serving dish.
Garnish with sesame seeds and chopped green onions for added flavor and presentation.
Serve it immediately with steamed rice or noodles.
This final touch elevates the dish and makes it visually appealing.
Critical Timing and Temperature Guide
Frying Chicken: Cook chicken pieces for 4-5 minutes in hot oil at around 350°F. The chicken should be golden brown and have an internal temperature of 165°F. Avoid overcrowding the pan to ensure even cooking.
Sautéing Vegetables: Sauté bell peppers and onions for 2-3 minutes over medium-high heat. They should be tender-crisp and brightly colored. Overcooking can lead to mushy vegetables.
Simmering Sauce: Allow the sauce to simmer for about 2-3 minutes after adding it to the chicken. The sauce should thicken slightly and beautifully coat the chicken. Stir frequently to prevent burning.
Pro Tips for Sweet And Sour Chicken Recipe
• Ingredient Selection: Use fresh chicken breasts and high-quality pineapple juice for the best flavor and texture.
• Preparation Secret: Patting the chicken dry before coating helps ensure a crispier finish.
• Temperature Management: Maintaining the oil temperature around 350°F is essential for achieving a crispy coating without overcooking the chicken.
• Texture Enhancement: Fry chicken in small batches to prevent steaming and ensure a crunchy texture.
• Flavor Layering: Adding a splash of soy sauce to the sauce mixture enhances the umami flavor in the dish.
• Make-Ahead Strategies: You can prepare the sauce in advance and store it in the refrigerator for up to 3 days.
• Restaurant-Quality Finishing Touches: A sprinkle of sesame seeds and green onions adds a professional touch to the presentation.
• Equipment Optimization: A non-stick wok allows for easy cooking and cleaning, helping to achieve the perfect stir-fry.
Troubleshooting Common Issues
• Texture Too Dense: This often happens if the chicken is overcrowded in the pan during frying. Ensure you fry in small batches to allow for even cooking and proper crisping.
• Flavors Unbalanced: If the dish tastes too sweet or too sour, adjust the sauce by adding more vinegar or sugar in small increments to balance it out.
• Chicken Not Cooked Through: Always check the internal temperature of the chicken to reach 165°F. If it’s undercooked, return it to the heat until fully cooked.
• Sauce Too Runny: If the sauce doesn’t thicken, allow it to simmer longer, or add a cornstarch slurry (cornstarch mixed with water) to help it thicken.
• Overcooked Vegetables: To avoid mushy vegetables, sauté them only until they are tender-crisp and brightly colored, around 2-3 minutes.
Variations and Regional Differences
• Hong Kong Style: This variation features a sweeter sauce, often with added ketchup or sweet chili sauce, and may include pineapple chunks.
• Thai Sweet and Sour Chicken: Incorporates Thai basil and fish sauce for an aromatic twist, often served with jasmine rice.
• Vegetarian Version: Substitute chicken with tofu or tempeh, and add a variety of vegetables like broccoli and snap peas for a meat-free option.
• Modern Interpretations: Health-conscious versions may use baked chicken instead of fried, and a lower-sugar sauce made with natural sweeteners.
Food Science Behind the Recipe
• Maillard Reaction: This occurs when the chicken is fried, creating a golden-brown crust and rich flavor through the browning of proteins and sugars.
• Emulsification: The sauce combines oil and water-based ingredients, creating a cohesive mixture that coats the chicken evenly.
• Gelatinization: Cornstarch in the sauce thickens when heated, allowing the sauce to cling to the chicken and provide a glossy finish.
Frequently Asked Questions
What’s the most common mistake people make when preparing sweet and sour chicken? Overcrowding the pan while frying chicken leads to steaming instead of crisping, resulting in a soggy texture.
Can I prepare components of this dish in advance? Yes, the sauce can be made up to three days in advance and stored in the refrigerator. The chicken should be cooked fresh for best results.
How do I adapt this recipe for dietary restrictions? For gluten-free options, use tamari in place of soy sauce, and ensure your cornstarch is also gluten-free.
What’s the best way to store and reheat leftovers? Store leftovers in an airtight container in the fridge for up to three days. Reheat in a skillet over medium heat until warmed through.
Can I freeze this dish? Yes, freeze the cooked chicken and sauce separately in airtight containers for up to three months. Thaw in the refrigerator before reheating.
What wine or beverages pair best with this dish? A slightly sweet Riesling or a light-bodied red wine like Pinot Noir complements the sweet and sour flavors beautifully.
How can I scale this recipe up for a crowd? Simply multiply the ingredients by the number of servings needed, but be sure to fry the chicken in batches to maintain quality.
What side dishes complement this recipe best? Steamed jasmine rice or fried rice pairs perfectly, along with a side of stir-fried vegetables for a complete meal.
How do professional chefs elevate this dish for restaurant service? They often add a touch of high-quality sesame oil at the end for flavor and garnish with fresh herbs for an elegant presentation.
Serving and Presentation Guide
• Traditional Presentation: Sweet and sour chicken is typically served in a large bowl with vibrant colors showcased. Garnishing with sesame seeds and green onions adds visual appeal.
• Modern Plating Ideas: Consider plating on a large white plate with a scoop of rice on one side and the chicken artfully arranged on the other, drizzled with sauce.
• Accompaniment Suggestions: Serve with a side of steamed jasmine rice or a fresh cucumber salad to balance the flavors.
• Special Occasion Presentation: For formal occasions, serve on individual plates with a decorative drizzle of sauce around the edge and a sprig of fresh cilantro on top.
Conclusion
I encourage you to try this sweet and sour chicken recipe at home.
It’s a family-friendly dish that’s quick and easy to prepare, perfect for any occasion.
With its delightful flavors and beautiful presentation, it’s sure to become a favorite at your dinner table.