
How to Make Perfect Sourdough Bread: A Home Baker’s Complete Guide
Artisan Sourdough Bread: A Simple Guide to Baking Perfect Loaves at Home
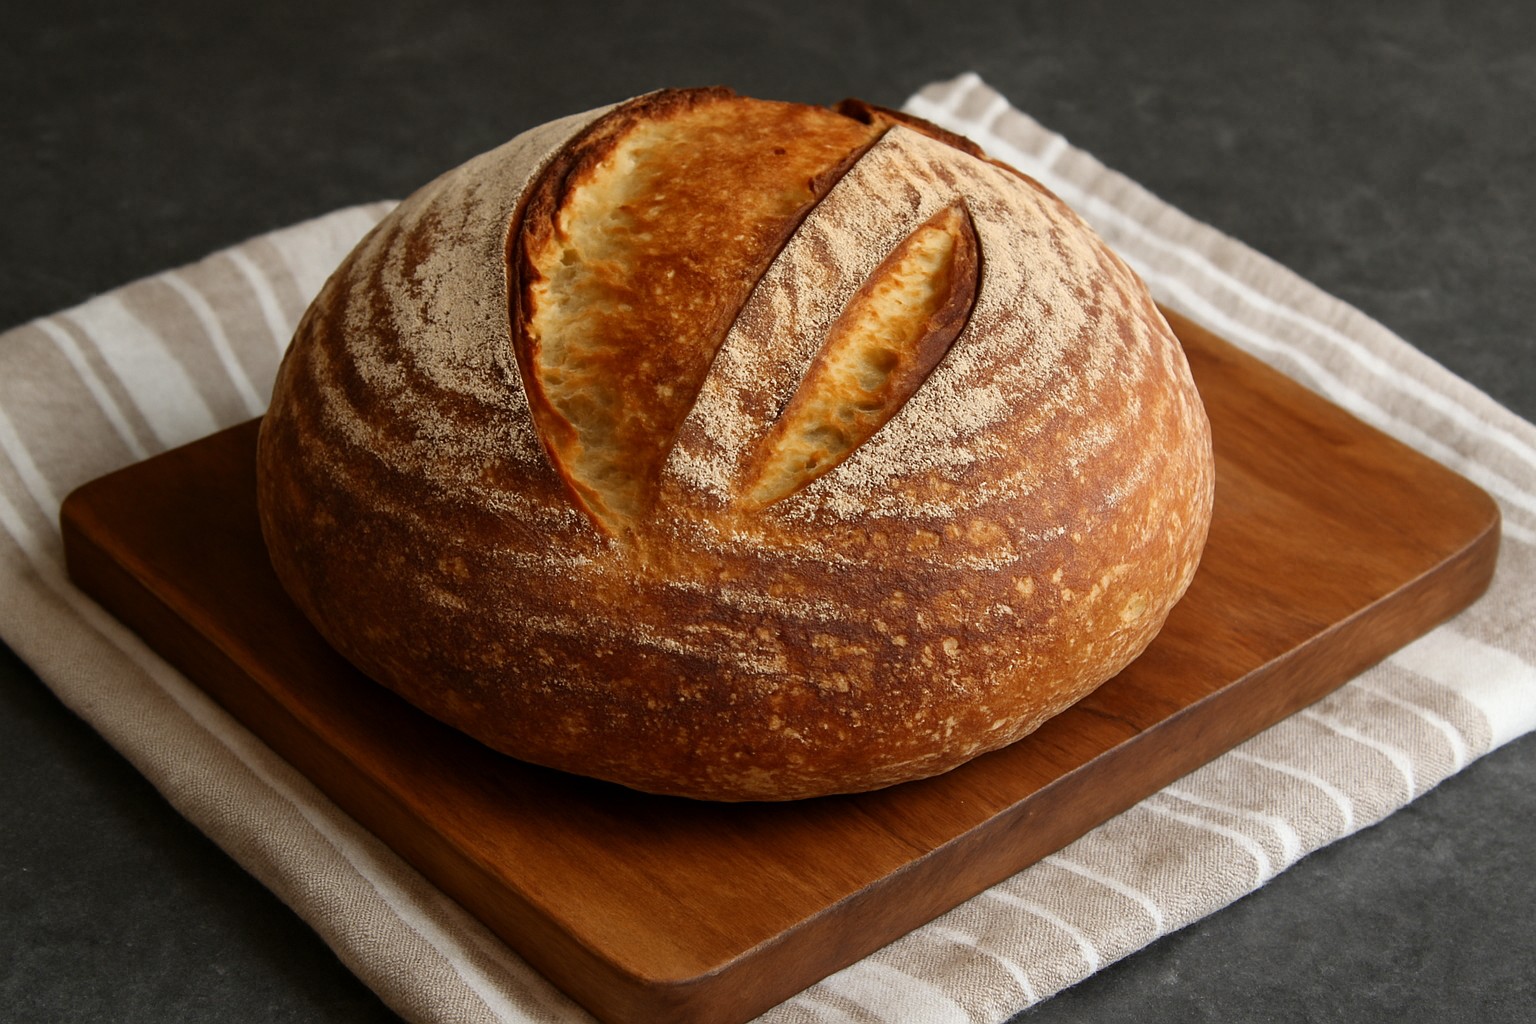
Mastering sourdough bread at home is one of the most rewarding experiences for any home baker. The complex flavors, crispy crust, and tender crumb of a properly made sourdough loaf simply cannot be matched by store-bought alternatives. Today, I’ll guide you through creating a spectacular artisan-style sourdough that requires minimal effort but delivers maximum flavor.
:max_bytes(150000):strip_icc()/260540-Chef-Johns-Sourdough-Bread-DDMFS-004-4x3-6791a75a5d804ec28424d04756054c5b.jpg)
Why This Sourdough Recipe Will Become Your Favorite
This recipe yields a perfectly balanced loaf with a tangy flavor profile and that signature chewy texture sourdough enthusiasts crave. What makes this approach special is its simplicity – we’ve streamlined the process while maintaining all the artisanal qualities that make sourdough so beloved.
The best part? This method is beginner-friendly but will still impress experienced bakers with its results.
The Magic of Wild Yeast Fermentation
Unlike commercial bread that relies on packaged yeast, sourdough harnesses the power of wild yeasts and beneficial bacteria. This natural fermentation process not only creates that distinctive tangy flavor but also makes the bread:
- More digestible – the long fermentation breaks down gluten and phytic acid
- Longer-lasting – naturally resistant to mold
- More nutritious – increased mineral availability
- Complex in flavor – developed through slow fermentation
Essential Ingredients for Perfect Sourdough Bread
- 100g active sourdough starter (100% hydration)
- 400g bread flour
- 100g whole wheat flour
- 350g filtered water (room temperature)
- 10g fine sea salt
- Rice flour for dusting (optional)
Sourdough Equipment Essentials
While fancy tools are nice, you can make great sourdough with just a few kitchen essentials:
- Large mixing bowl
- Dough scraper
- Kitchen scale (for precision)
- Proofing basket or bowl lined with a clean kitchen towel
- Dutch oven or heavy covered pot
- Sharp knife or bread lame for scoring
Step-by-Step Sourdough Bread Method
- Feed your starter: The night before baking, feed your sourdough starter. It should be bubbly and doubled in size when ready to use (usually 8-12 hours after feeding).
- Mix the dough: In a large bowl, combine 100g active starter with 350g water and stir until dissolved. Add 400g bread flour and 100g whole wheat flour, mixing until no dry flour remains. Cover and let rest for 30 minutes (this is called the autolyse).
- Add salt: Sprinkle 10g salt over the dough and incorporate by gently folding and squeezing the dough. Cover and begin bulk fermentation.
- Bulk fermentation with stretch and folds: Over the next 3-4 hours, perform a series of stretch and folds every 30 minutes for the first 2 hours. To perform a stretch and fold, grab one side of the dough, stretch it upward, and fold it over the center. Rotate the bowl 90 degrees and repeat three more times, completing a full circle.
- Pre-shape: When the dough has increased in volume by about 50% and feels puffy with visible bubbles, gently turn it onto a lightly floured surface. Form into a rough ball by pulling the edges toward the center. Let rest, uncovered, for 20 minutes.
- Final shape: Flip the dough over and shape into a tight ball by dragging it toward you on the counter, creating surface tension. Place the shaped dough seam-side up in a floured proofing basket or towel-lined bowl.
- Cold proof: Cover the basket and refrigerate for 12-14 hours (overnight). This slow, cold fermentation develops flavor and makes the dough easier to handle.
- Preheat: The next day, place your Dutch oven in the oven and preheat to 500°F (260°C) for 1 hour.
- Score and bake: When ready to bake, turn the dough out onto parchment paper. Using a sharp knife or bread lame, score the top with a deep slash to allow for expansion. Carefully transfer the dough on the parchment into the hot Dutch oven, cover, and bake for 20 minutes.
- Reduce heat and finish: Lower the temperature to 450°F (230°C), remove the lid, and bake for another 20-25 minutes until the crust is deep golden brown.
- Cool: Remove the bread from the oven and cool completely on a wire rack (at least 1 hour) before slicing. This cooling period is crucial for the crumb structure to set.
Troubleshooting Common Sourdough Issues
Flat Loaf
If your sourdough spreads out rather than up, your starter might not be active enough, or the dough may be overproofed. Ensure your starter doubles in size before using, and watch fermentation times carefully, especially in warm weather.
Dense Crumb
A dense loaf often indicates underproofing or insufficient gluten development. Extend bulk fermentation time and ensure proper stretch and fold technique to build structure.
Gummy Interior
This usually means the bread is underbaked or was cut before cooling completely. Always allow your loaf to cool fully before slicing – patience is key!
Creative Variations for Your Sourdough Journey
Once you’ve mastered the basic recipe, try these delicious variations:
- Rosemary Olive Oil: Add 2 tablespoons of olive oil and 1 tablespoon fresh rosemary to the dough
- Seeded Crust: Brush the top with water before baking and sprinkle with sesame, poppy, or sunflower seeds
- Walnut Cranberry: Fold in 80g chopped walnuts and 60g dried cranberries during the last stretch and fold
- Roasted Garlic: Incorporate a head of roasted, mashed garlic during mixing
Storing and Enjoying Your Homemade Sourdough
Your freshly baked sourdough will keep well at room temperature for 3-4 days when stored in a bread bag or wrapped in a clean kitchen towel. For longer storage, slice the bread and freeze it in an airtight container for up to 3 months.
For the ultimate sourdough experience, try serving it:
- Toasted with salted butter and honey
- As the base for avocado toast with a sprinkle of red pepper flakes
- Alongside homemade soup or stew
- As the foundation for an exceptional grilled cheese
Conclusion: Your Sourdough Baking Journey
Baking sourdough bread at home connects us to centuries of baking tradition while producing something truly special. Each loaf you make will be unique, reflecting the conditions in your kitchen, the characteristics of your starter, and your growing skill as a baker. Embrace the process and enjoy the delicious results of your labor!
This recipe is inspired by Chef John’s Sourdough Bread.
Artisan Sourdough Bread
Ingredients
Method
- Feed your starter: The night before baking, feed your sourdough starter. It should be bubbly and doubled in size when ready to use (usually 8-12 hours after feeding).
- Mix the dough: In a large bowl, combine 100g active starter with 350g water and stir until dissolved. Add 400g bread flour and 100g whole wheat flour, mixing until no dry flour remains. Cover and let rest for 30 minutes (this is called the autolyse).
- Add salt: Sprinkle 10g salt over the dough and incorporate by gently folding and squeezing the dough. Cover and begin bulk fermentation.
- Bulk fermentation with stretch and folds: Over the next 3-4 hours, perform a series of stretch and folds every 30 minutes for the first 2 hours.
- Pre-shape: When the dough has increased in volume by about 50% and feels puffy with visible bubbles, gently turn it onto a lightly floured surface. Form into a rough ball and let rest for 20 minutes.
- Final shape: Flip the dough over and shape into a tight ball by dragging it toward you on the counter. Place the shaped dough seam-side up in a floured proofing basket or towel-lined bowl.
- Cold proof: Cover the basket and refrigerate for 12-14 hours (overnight).
- Preheat: The next day, place your Dutch oven in the oven and preheat to 500°F (260°C) for 1 hour.
- Score and bake: Turn the dough out onto parchment paper. Score the top with a deep slash. Transfer the dough on the parchment into the hot Dutch oven, cover, and bake for 20 minutes.
- Reduce heat and finish: Lower the temperature to 450°F (230°C), remove the lid, and bake for another 20-25 minutes until deep golden brown.
- Cool: Remove the bread from the oven and cool completely on a wire rack (at least 1 hour) before slicing.
Nutrition
This recipe is inspired by Chef John’s Sourdough Bread.