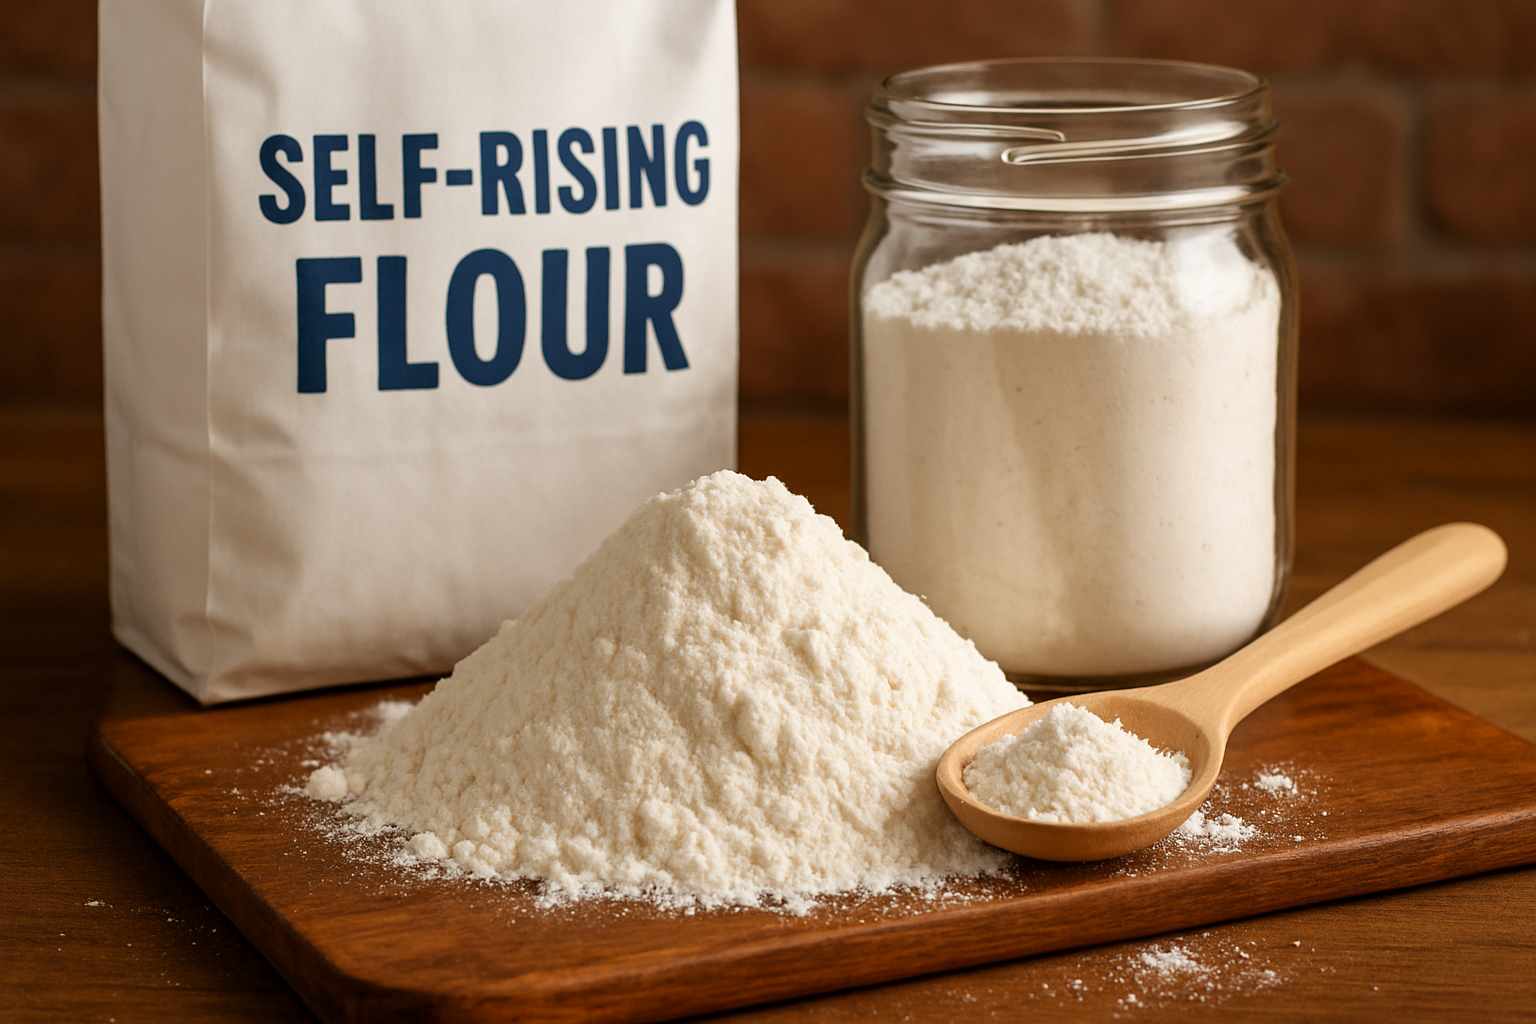
DIY Self Rising Flour: A Quick 5-Minute Pantry Solution
How to Make Homemade Self Rising Flour in Minutes
Creating your own self rising flour at home is one of the simplest kitchen hacks that can save you both time and money. This pantry staple combines all-purpose flour with leavening agents to give your baked goods that perfect rise without needing to measure multiple ingredients every time you bake.
:max_bytes(150000):strip_icc()/AR-149310-Self-rising-flour-ddmfs-4x3-d4794aeed75c46e2a0344cf0ac9d9d64.jpg)
Why Make Your Own Self Rising Flour?
Store-bought self-rising flour is convenient, but making your own offers several advantages:
- Always have it on hand – Never worry about running out in the middle of a recipe
- Control the ingredients – Adjust salt levels or use organic flour if preferred
- Save money – More economical than buying specialty flours
- Fresher leavening – Baking powder is most effective when fresh
What Makes Self Rising Flour Different?
Self-rising flour differs from all-purpose flour because it already contains baking powder and salt mixed in perfect proportions. This pre-mixed combination makes it ideal for recipes where a light, fluffy texture is desired without adding separate leavening agents.
Perfect Homemade Self Rising Flour Recipe
Ingredients You’ll Need:
- 1 cup all-purpose flour
- 1½ teaspoons baking powder
- ¼ teaspoon salt
Step-by-Step Instructions:
- Place the all-purpose flour in a medium bowl.
- Add the baking powder and salt to the flour.
- Whisk all ingredients together thoroughly until well combined and no clumps remain.
- Transfer to an airtight container for storage if not using immediately.
- Use as directed in any recipe calling for self-rising flour.
Tips for Perfect Self Rising Flour
- Sift for best results: For ultra-light baked goods, sift the ingredients together instead of whisking.
- Double or triple: This recipe scales perfectly—make a larger batch and store for future use.
- Storage matters: Keep in an airtight container in a cool, dry place for up to 6 months.
- Label clearly: Mark your container with the date and contents to avoid confusion.
Nutrition Information per Cup:
-
459 calories,
97g carbohydrates,
13g protein,
1g fat,
3g fiber,
1897mg sodium
Delicious Ways to Use Self Rising Flour
Now that you’ve made your own self-rising flour, put it to good use in these classic recipes:
- Southern-Style Biscuits: The quintessential use for self-rising flour
- Fluffy Pancakes: Create extra-airy breakfast treats
- Quick Breads: Perfect for banana bread or zucchini bread
- Simple Muffins: Streamline your favorite muffin recipes
- Drop Dumplings: Ideal for soups and stews
Common Questions About Self Rising Flour
Can I substitute self-rising flour for all-purpose flour?
You can substitute self-rising flour for all-purpose flour in recipes that call for baking powder and salt. Remember that self-rising flour already contains these ingredients, so omit them from your recipe to avoid doubling up.
How long does homemade self-rising flour last?
When stored in an airtight container in a cool, dry place, homemade self-rising flour will stay fresh for about 6 months. The limiting factor is the baking powder, which loses potency over time.
Can I use self-rising flour in yeast breads?
Self-rising flour isn’t recommended for yeast breads. The salt and baking powder in self-rising flour can interfere with yeast activity and proper rising.
Why This Homemade Self Rising Flour Recipe Works
Making your own self rising flour ensures that you’re working with fresh ingredients in the proper ratios. The 1:1½:¼ ratio (1 cup flour to 1½ teaspoons baking powder to ¼ teaspoon salt) creates the perfect balance for leavening baked goods while adding just the right amount of flavor enhancement from the salt.
This homemade version works perfectly in all your favorite recipes that call for self-rising flour, from fluffy Southern biscuits to tender pancakes and quick breads. By making your own, you’ll always have this versatile ingredient ready whenever inspiration strikes!
How to Make Homemade Self Rising Flour in Minutes
Ingredients
Method
- Place the all-purpose flour in a medium bowl.
- Add the baking powder and salt to the flour.
- Whisk all ingredients together thoroughly until well combined and no clumps remain.
- Transfer to an airtight container for storage if not using immediately.
- Use as directed in any recipe calling for self-rising flour.
Nutrition
Recipe inspired by: AllRecipes Self-Rising Flour