
The Ultimate Guide to Baking Artisan Bread at Home
Baking artisan bread at home is not just a culinary endeavor; it’s a journey into the heart of traditional craftsmanship.
The aroma of freshly baked bread wafting through your kitchen is an experience that captivates both the senses and the spirit.
I first fell in love with baking bread during a winter retreat, where the warmth of the oven and the simplicity of flour, water, and yeast created a cozy atmosphere.
Whether you’re aiming for the perfect crusty baguette or a soft, chewy sourdough, this ultimate guide will equip you with the skills and confidence you need to create artisanal bread right in your own kitchen.
The History and Cultural Significance
• Artisan bread traces its origins to ancient civilizations, where it was originally created by bakers in Mesopotamia around 6000 BC.
• The techniques evolved over centuries, with sourdough becoming a staple in many cultures, as people learned to harness wild yeast for leavening.
• In France, artisan bread like baguettes and pain de campagne are integral to daily life, often gracing the tables of families and appearing at special occasions.
• While many variations exist across different regions, the authentic version maintains a natural fermentation process that enhances flavor and texture, setting it apart from commercial bread.
Recipe Overview
Nutritional Information (per serving)
You Might Also Like

Essential Equipment Guide
Stand Mixer: A stand mixer with a dough hook is essential for kneading dough efficiently. It allows you to develop gluten without the manual effort, ensuring a well-mixed dough. Look for a model with a powerful motor and multiple speed settings for versatility.
Baking Stone: A baking stone helps retain and distribute heat evenly, mimicking the conditions of a traditional brick oven. This results in a better crust and overall texture. If you don’t have a stone, a heavy baking sheet can work as an alternative.
Proofing Basket: A proofing basket, or banneton, supports the dough during its final rise, helping it maintain shape and create beautiful patterns on the crust. Choose one that is made of natural materials, like rattan, for the best results.
Key Ingredients Explained
For the Dough:
• 500 g bread flour, unbleached – Choose high-protein bread flour for better gluten development, which leads to a chewier texture and a superior rise. Avoid all-purpose flour as it may not provide the same structural integrity.
• 350 ml water, room temperature – Using room temperature water helps with yeast activation and fermentation. Ensure the water is not too hot, as it can kill the yeast, disrupting the rising process.
For the Starter:
• 100 g active sourdough starter, fed – A vigorous sourdough starter is crucial for flavor and leavening. Look for a bubbly and fragrant starter to ensure the best results. If you don’t have one, consider creating your own or using commercial yeast as a substitute.
Preparation Methods
Autolyse: This technique involves mixing flour and water and letting it rest before adding salt and starter. Autolyse allows the flour to fully hydrate and enzymes to activate, which improves dough extensibility. Aim for a rest period of 20-60 minutes for optimal results.
Stretch and Fold: Instead of traditional kneading, this method involves stretching the dough and folding it over itself at intervals during the bulk fermentation. This technique develops gluten structure gently and helps incorporate air without deflating the dough.
Scoring: Scoring involves making shallow cuts on the surface of the dough before baking. This allows controlled expansion and creates beautiful patterns on the crust. Use a sharp blade and be confident with your cuts for the best appearance.
Step 1: Prepare Ingredients
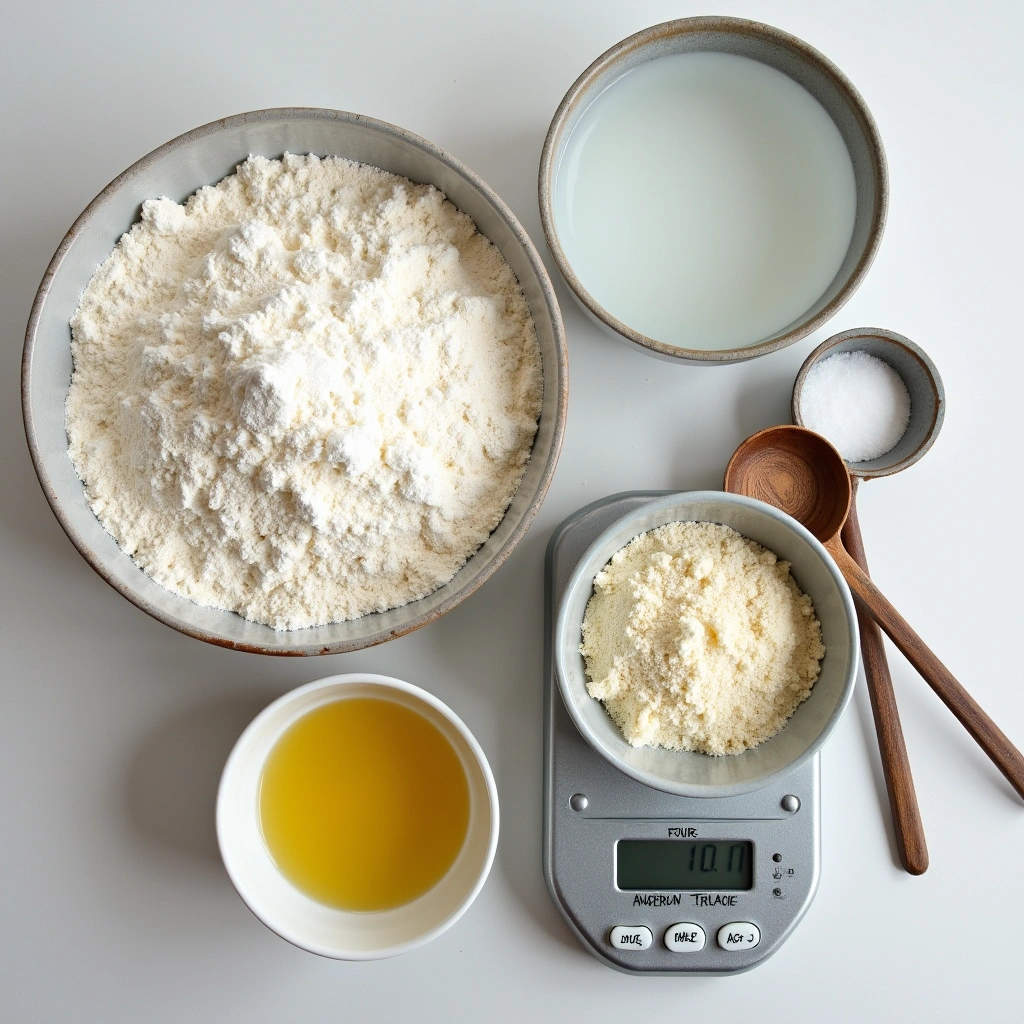
Gather all your ingredients before starting the process.
This includes bread flour, water, salt, and your sourdough starter.
Make sure all your ingredients are at room temperature to ensure proper fermentation.
Weigh your ingredients carefully using a kitchen scale for accuracy.
Step 2: Mix the Dough

In a large mixing bowl, combine the flour and water, mixing until no dry flour remains.
Let the mixture rest for 30 minutes to allow for autolyse, which aids in gluten development.
After resting, add salt and the active sourdough starter.
Mix thoroughly until the dough is cohesive and slightly sticky.
Step 3: Bulk Fermentation

Cover the bowl with a damp cloth or plastic wrap to prevent drying out.
Let the dough rise at room temperature for 4-6 hours, performing stretch and folds every 30 minutes.
You should notice the dough increasing in volume and developing bubbles.
The dough is ready when it has roughly doubled in size and feels airy.
Step 4: Shape the Dough

Turn the dough out onto a floured surface and gently deflate it.
Use a bench scraper to divide the dough into two equal pieces.
Shape each piece into a round or oval loaf, depending on your preference.
Be gentle to maintain the air pockets that have formed during fermentation.
Step 5: Final Proof

Place each shaped loaf into a floured proofing basket seam-side up.
Cover with a damp cloth and let them proof for 1-2 hours, or until they have visibly puffed up.
You can also refrigerate the loaves for an overnight proof for enhanced flavor.
The dough is ready when it springs back slowly when poked.
Step 6: Preheat the Oven

Place a baking stone or an inverted baking sheet in your oven and preheat to 450°F (232°C).
This process may take about 30 minutes to ensure the stone is hot enough for baking.
Consider placing a pan with water at the bottom of the oven to create steam, which is essential for a crispy crust.
Use an oven thermometer to ensure the temperature is accurate.
Step 7: Score the Loaves

Carefully turn the proofed loaves out onto a piece of parchment paper.
Using a sharp blade or lame, make a few shallow cuts on the surface of each loaf.
Scoring helps control how the bread expands in the oven.
Be creative with your scoring patterns to achieve a beautiful presentation.
Step 8: Bake the Bread

Slide the parchment paper with the loaves onto the preheated baking stone or sheet.
Bake for 30-35 minutes, or until the crust is deep golden brown and sounds hollow when tapped.
Keep an eye on the bread in the last few minutes to avoid over-browning.
If desired, rotate the loaves halfway through baking for even cooking.
Step 9: Cool the Bread

Once baked, remove the loaves from the oven and transfer them to a wire rack.
Allow the bread to cool completely before slicing to set the crumb structure.
This could take at least an hour; resist the temptation to cut too soon!
Proper cooling will enhance the flavor and texture of the bread.
Critical Timing and Temperature Guide
Bulk Fermentation: Aim for 4-6 hours at room temperature. Look for the dough to double in size and develop bubbles on the surface. Avoid over-proofing, which can lead to flat loaves.
Baking Temperature: Preheat the oven to 450°F (232°C) and bake for 30-35 minutes until golden brown. Use an oven thermometer for accuracy, as home ovens can vary.
Cooling Time: Allow the bread to cool for at least 1 hour before slicing. Cutting too soon can result in a gummy texture inside.
Pro Tips for The Ultimate Guide To Baking Artisan Bread
• Ingredient Selection: Using high-quality bread flour makes a significant difference in texture and taste, enhancing the overall quality of your bread.
• Preparation Secret: Allowing your dough to autolyse for an extended period can greatly improve gluten formation and flavor.
• Temperature Management: Ensure your water is at room temperature for optimal yeast activity, avoiding water that is too hot or cold.
• Texture Enhancement: Use a baking stone and steam for a crispy crust that contrasts beautifully with the soft interior.
• Flavor Layering: Experiment with adding herbs or spices to the dough for unique flavor profiles.
• Make-Ahead Strategies: You can prepare the dough in advance and refrigerate it overnight for convenience without sacrificing flavor.
• Restaurant-Quality Finishing Touches: Brush the crust with melted butter after baking for a rich, glossy finish.
• Equipment Optimization: Familiarize yourself with your oven’s quirks to achieve consistent baking results.
Troubleshooting Common Issues
• Texture Too Dense: This can occur due to insufficient gluten development or too much flour. Ensure proper mixing and kneading, and weigh your flour for accuracy.
• Crust Too Hard: If your crust is overly thick, consider reducing the baking time or adjusting oven temperature. A hotter oven can create a thicker crust.
• Loaf Doesn’t Rise: If the dough doesn’t rise, check your yeast’s viability. It may be expired or not activated properly.
• Gummy Interior: This may happen if the bread is sliced too soon after baking. Always allow adequate cooling time to set the crumb.
• Flavor Lacking: If your bread is bland, try increasing salt or incorporating herbs and spices into the dough for added flavor.
• Uneven Crust Color: Uneven baking can result from hot spots in your oven. Rotate the loaves halfway through baking for even coloration.
Variations and Regional Differences
• French Baguette: This variation emphasizes a longer fermentation and a different shaping technique, resulting in a lighter and airier texture with a crispy crust.
• Italian Ciabatta: Known for its open crumb and chewy texture, this variant uses a wetter dough and a different flour blend, often incorporating olive oil for added flavor.
• German Rye Bread: Utilizing rye flour and sometimes sourdough starter, this bread offers a denser texture and a unique, hearty flavor profile.
• Modern Interpretations: Contemporary bakers often experiment with inclusions like seeds, nuts, or dried fruits, adding new dimensions to traditional recipes.
Food Science Behind the Recipe
• Gluten Development: As the dough is mixed and kneaded, gluten proteins form, creating a network that traps gases produced by the yeast, allowing the dough to rise.
• Fermentation: The yeast consumes sugars present in the dough, producing carbon dioxide and alcohol, which contribute to the dough’s rise and flavor complexity.
• Maillard Reaction: This chemical reaction occurs during baking, leading to the browning of the crust and the development of rich flavors and aromas that enhance the overall bread experience.
Frequently Asked Questions
What’s the most common mistake people make when preparing artisan bread? Not weighing ingredients accurately can lead to inconsistencies in dough hydration and texture. Always use a kitchen scale for precision.
Can I prepare components of this dish in advance? Yes, you can mix the dough and let it rise overnight in the refrigerator for convenience, enhancing flavor.
How do I adapt this recipe for dietary restrictions? To make gluten-free bread, use a gluten-free flour blend and adjust hydration levels as needed for proper consistency.
What’s the best way to store and reheat leftovers? Store bread in an airtight container at room temperature for up to 3 days. To reheat, wrap in foil and warm in a low oven for a few minutes.
Can I freeze this dish? Yes, slice the bread and wrap it tightly in plastic wrap and foil before freezing. Thaw at room temperature or warm in the oven before serving.
What wine or beverages pair best with this dish? A light-bodied white wine like Sauvignon Blanc complements the bread’s texture, while a rich stout pairs well with denser varieties.
How can I scale this recipe up for a crowd? Simply multiply the ingredient quantities, but consider that larger batches may require longer fermentation times.
What side dishes complement this recipe best? Pair artisan bread with a selection of cheeses, charcuterie, or a fresh garden salad for a delightful meal.
How do professional chefs elevate this dish for restaurant service? Chefs often add unique toppings or infusions, like herb oils or gourmet butters, to enhance presentation and flavor.
Serving and Presentation Guide
• Traditional Presentation: Artisan bread is best served sliced on a wooden board with a side of butter or olive oil for dipping.
• Modern Plating Ideas: Consider serving individual slices on elegant plates with garnished herbs and a drizzle of balsamic glaze for a gourmet touch.
• Accompaniment Suggestions: Pair your artisan bread with a rich soup, cheese platter, or a fresh salad to create a complete meal experience.
• Special Occasion Presentation: For celebrations, serve your bread in a decorative basket lined with a cloth, accompanied by an assortment of spreads and toppings.
Conclusion
Baking artisan bread at home is a rewarding experience that connects you to centuries of culinary tradition.
With practice and patience, you’ll be able to create loaves that not only taste incredible but also fill your home with warmth and joy.
I encourage you to embrace the process, experiment, and enjoy the delightful journey of bread-making.